ORC Week 8: The Final Reveal!
Check out the other posts in this series!
Week One, Week Two, Week Three, Week Four, Weeks 5 & 6, Week 7, Week 8
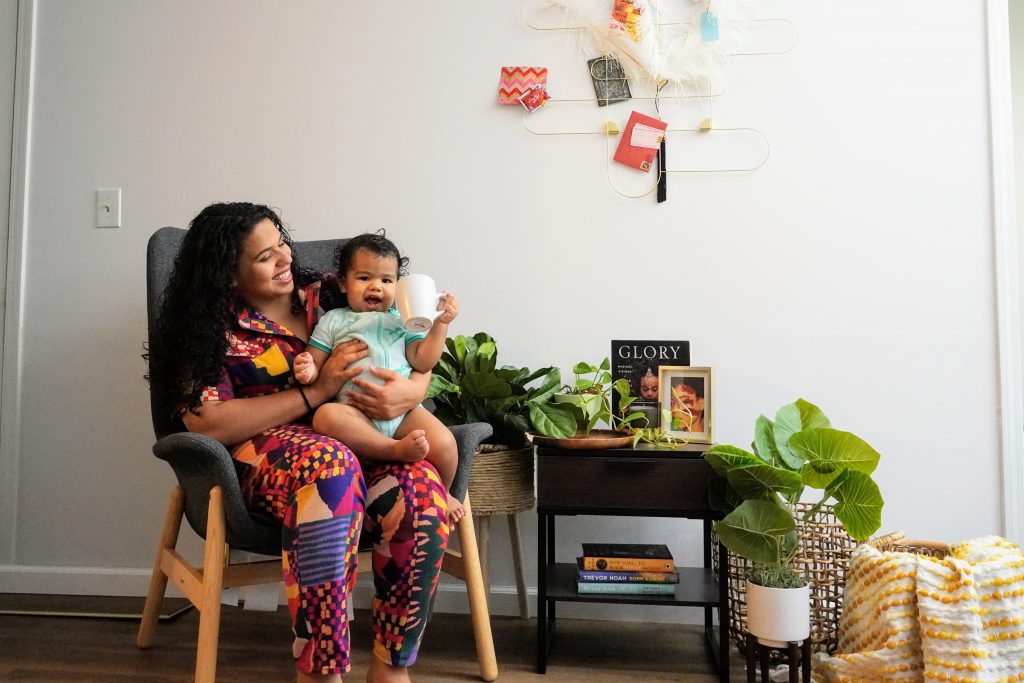
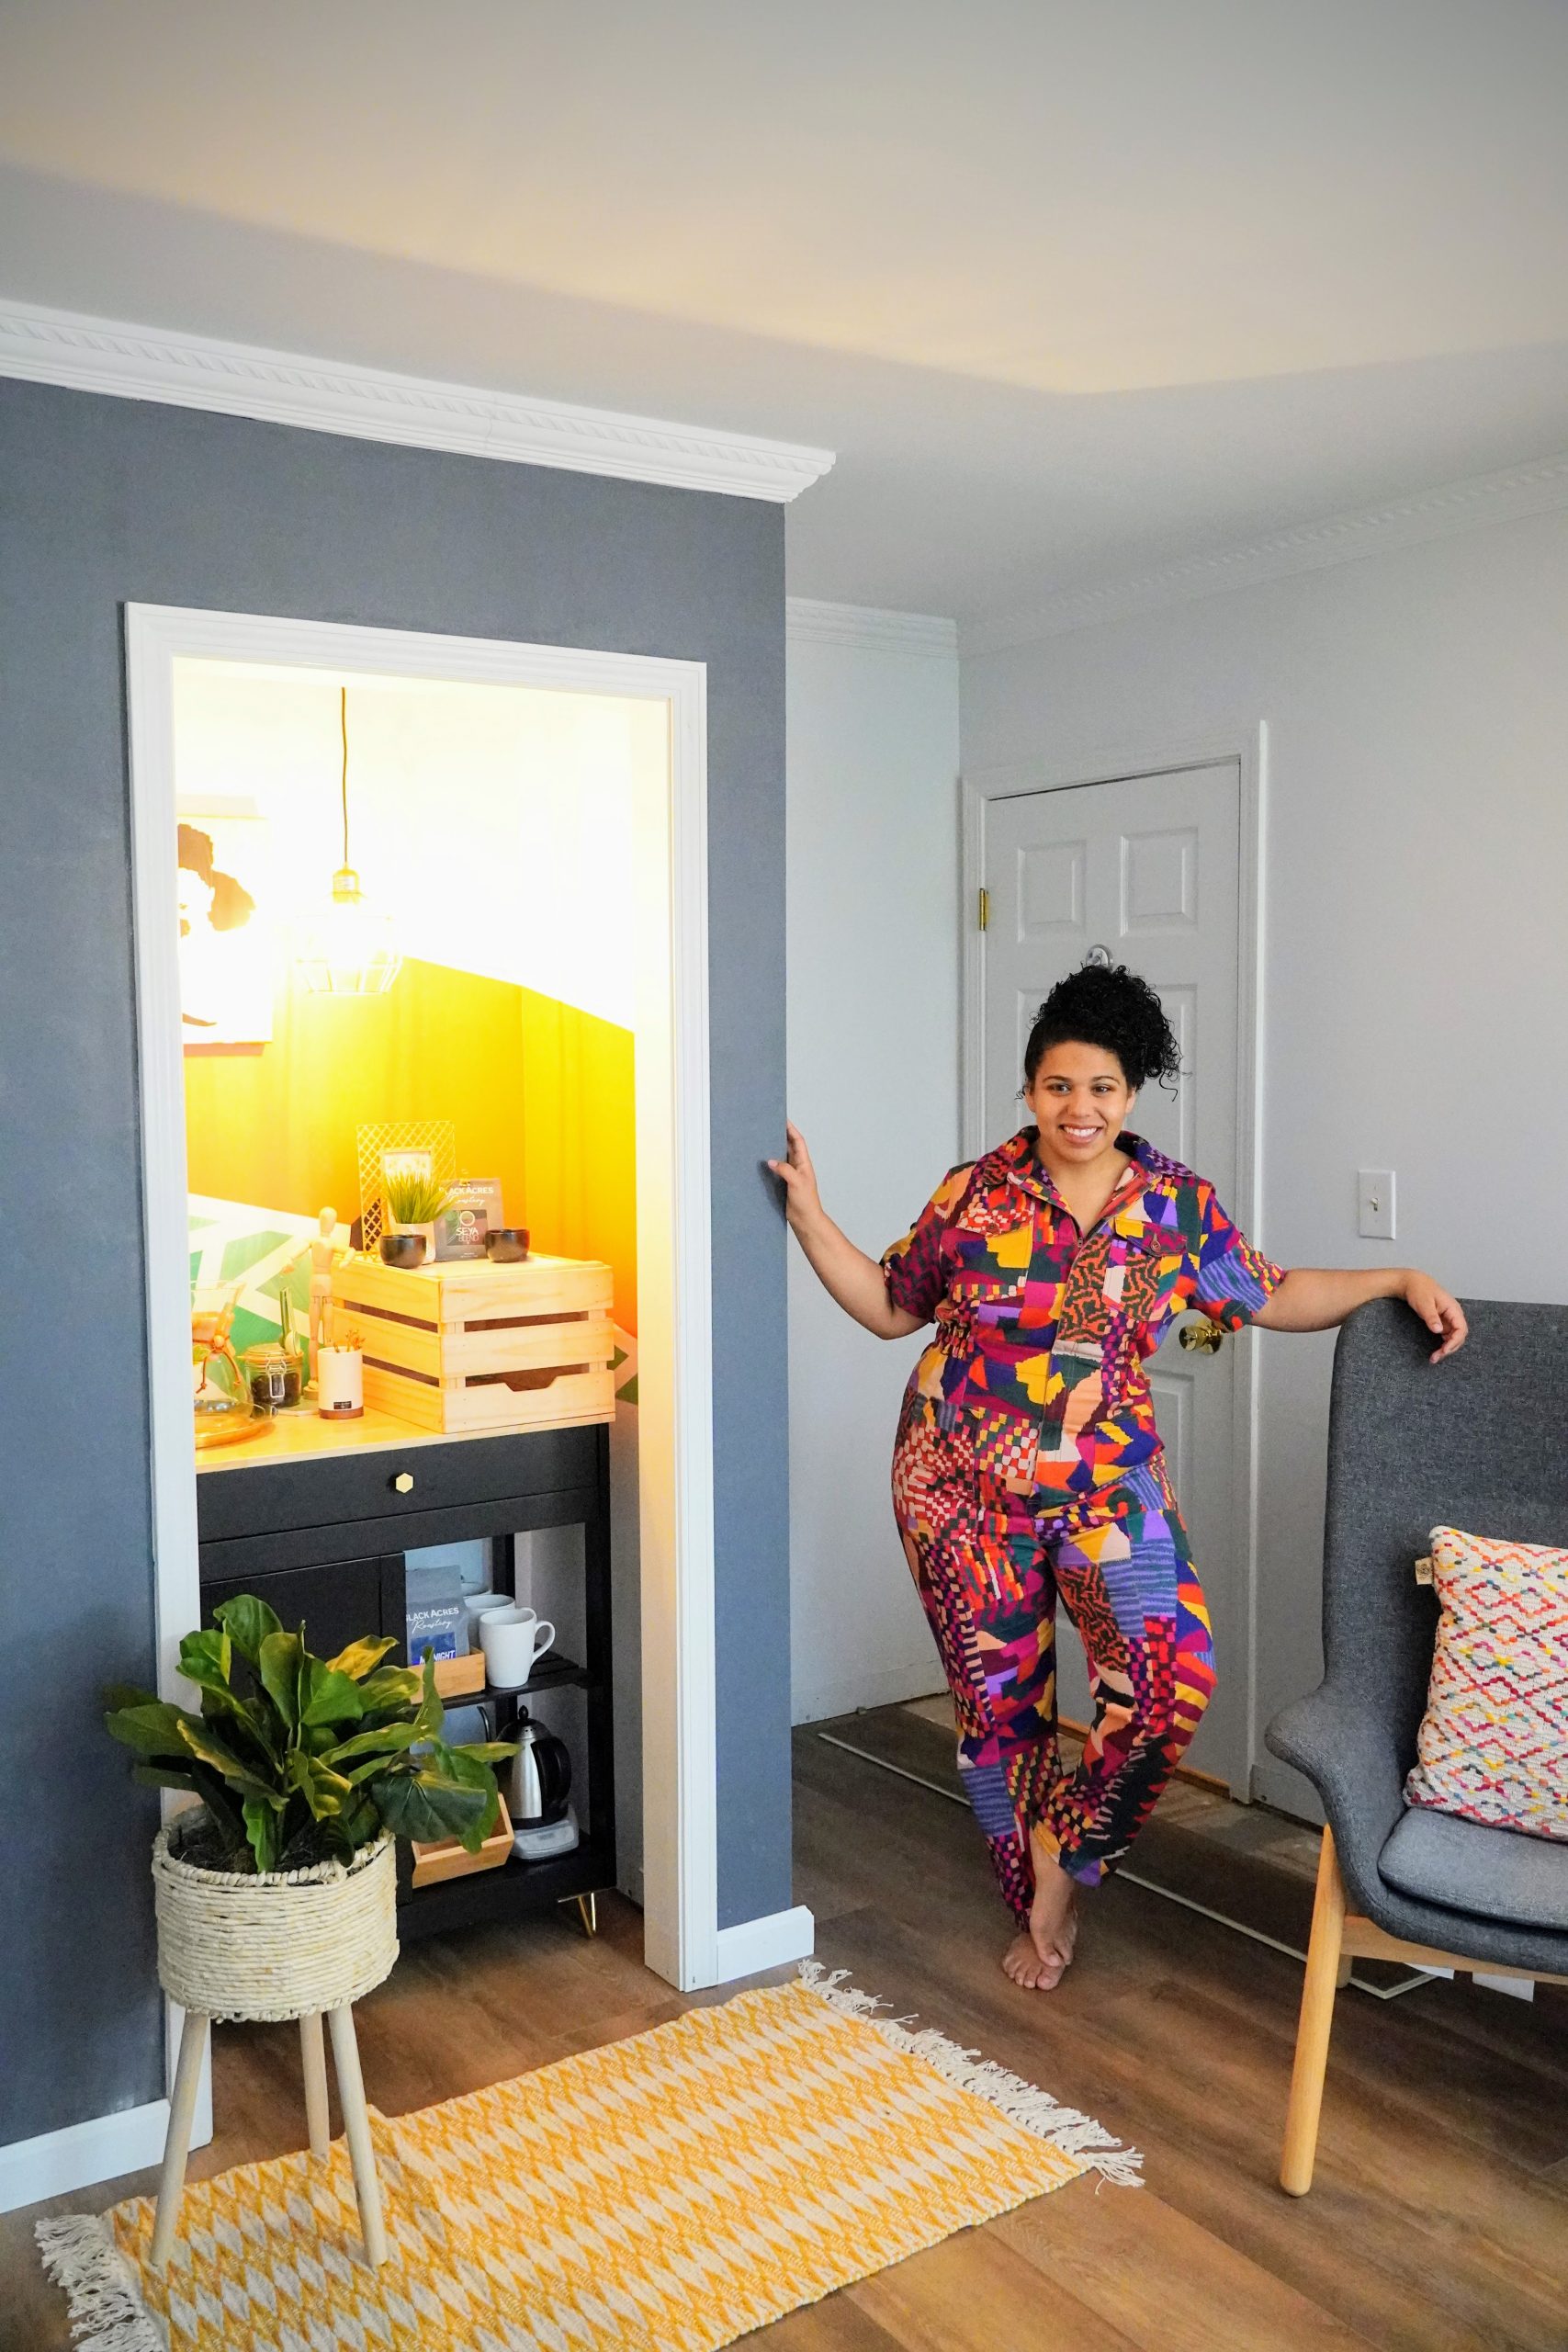
8 weeks of hard work finally paid off as we got to taste our first sips of victory (and coffee) in our coffee shop home office! Check out the pictures!
A note on product links: I highly encourage you to shop at your local stores as much as possible. It’s better for small businesses, for the planet, and often also for your wallet! In this post you will find that I’ve linked several of the items I’m referencing. It’s a convenient way of sharing product recommendations with you, and it’s an option for those who may not have access to a good selection locally. As an Amazon Associate I earn from qualifying purchases when you shop with these links.
How we got from Week 7 to Week 8 I don’t think I’ll ever know. The flooring and baseboards, the styling with mostly whatever we had around the house… it was a whirlwind but somehow we got this beautiful office space and I’m so proud of not only the final result, but everything I learned along the way! I used so many tools for the first time, I learned skills I didn’t know I needed to know. And above it all, I grew confident in my ability to do things for the first time, to trust my intuition and vision, and to know when to say “that’s good enough for this attempt, we’ll take the learnings for next time!”
Thank you for going on this journey with me, for commiserating with my setbacks, sleepless nights, and toddler wakings, and for celebrating my victories with me. I’m so excited to have met so many people through this challenge and I can’t wait for the next one! My gratitude goes to those who organize this event. Now, without further ado (because it’s 11:51 on Sunday, we have no more time for Ado!!!) may I present my coffee shop office for ORC Fall 2021!!!! (Click through to see full images)


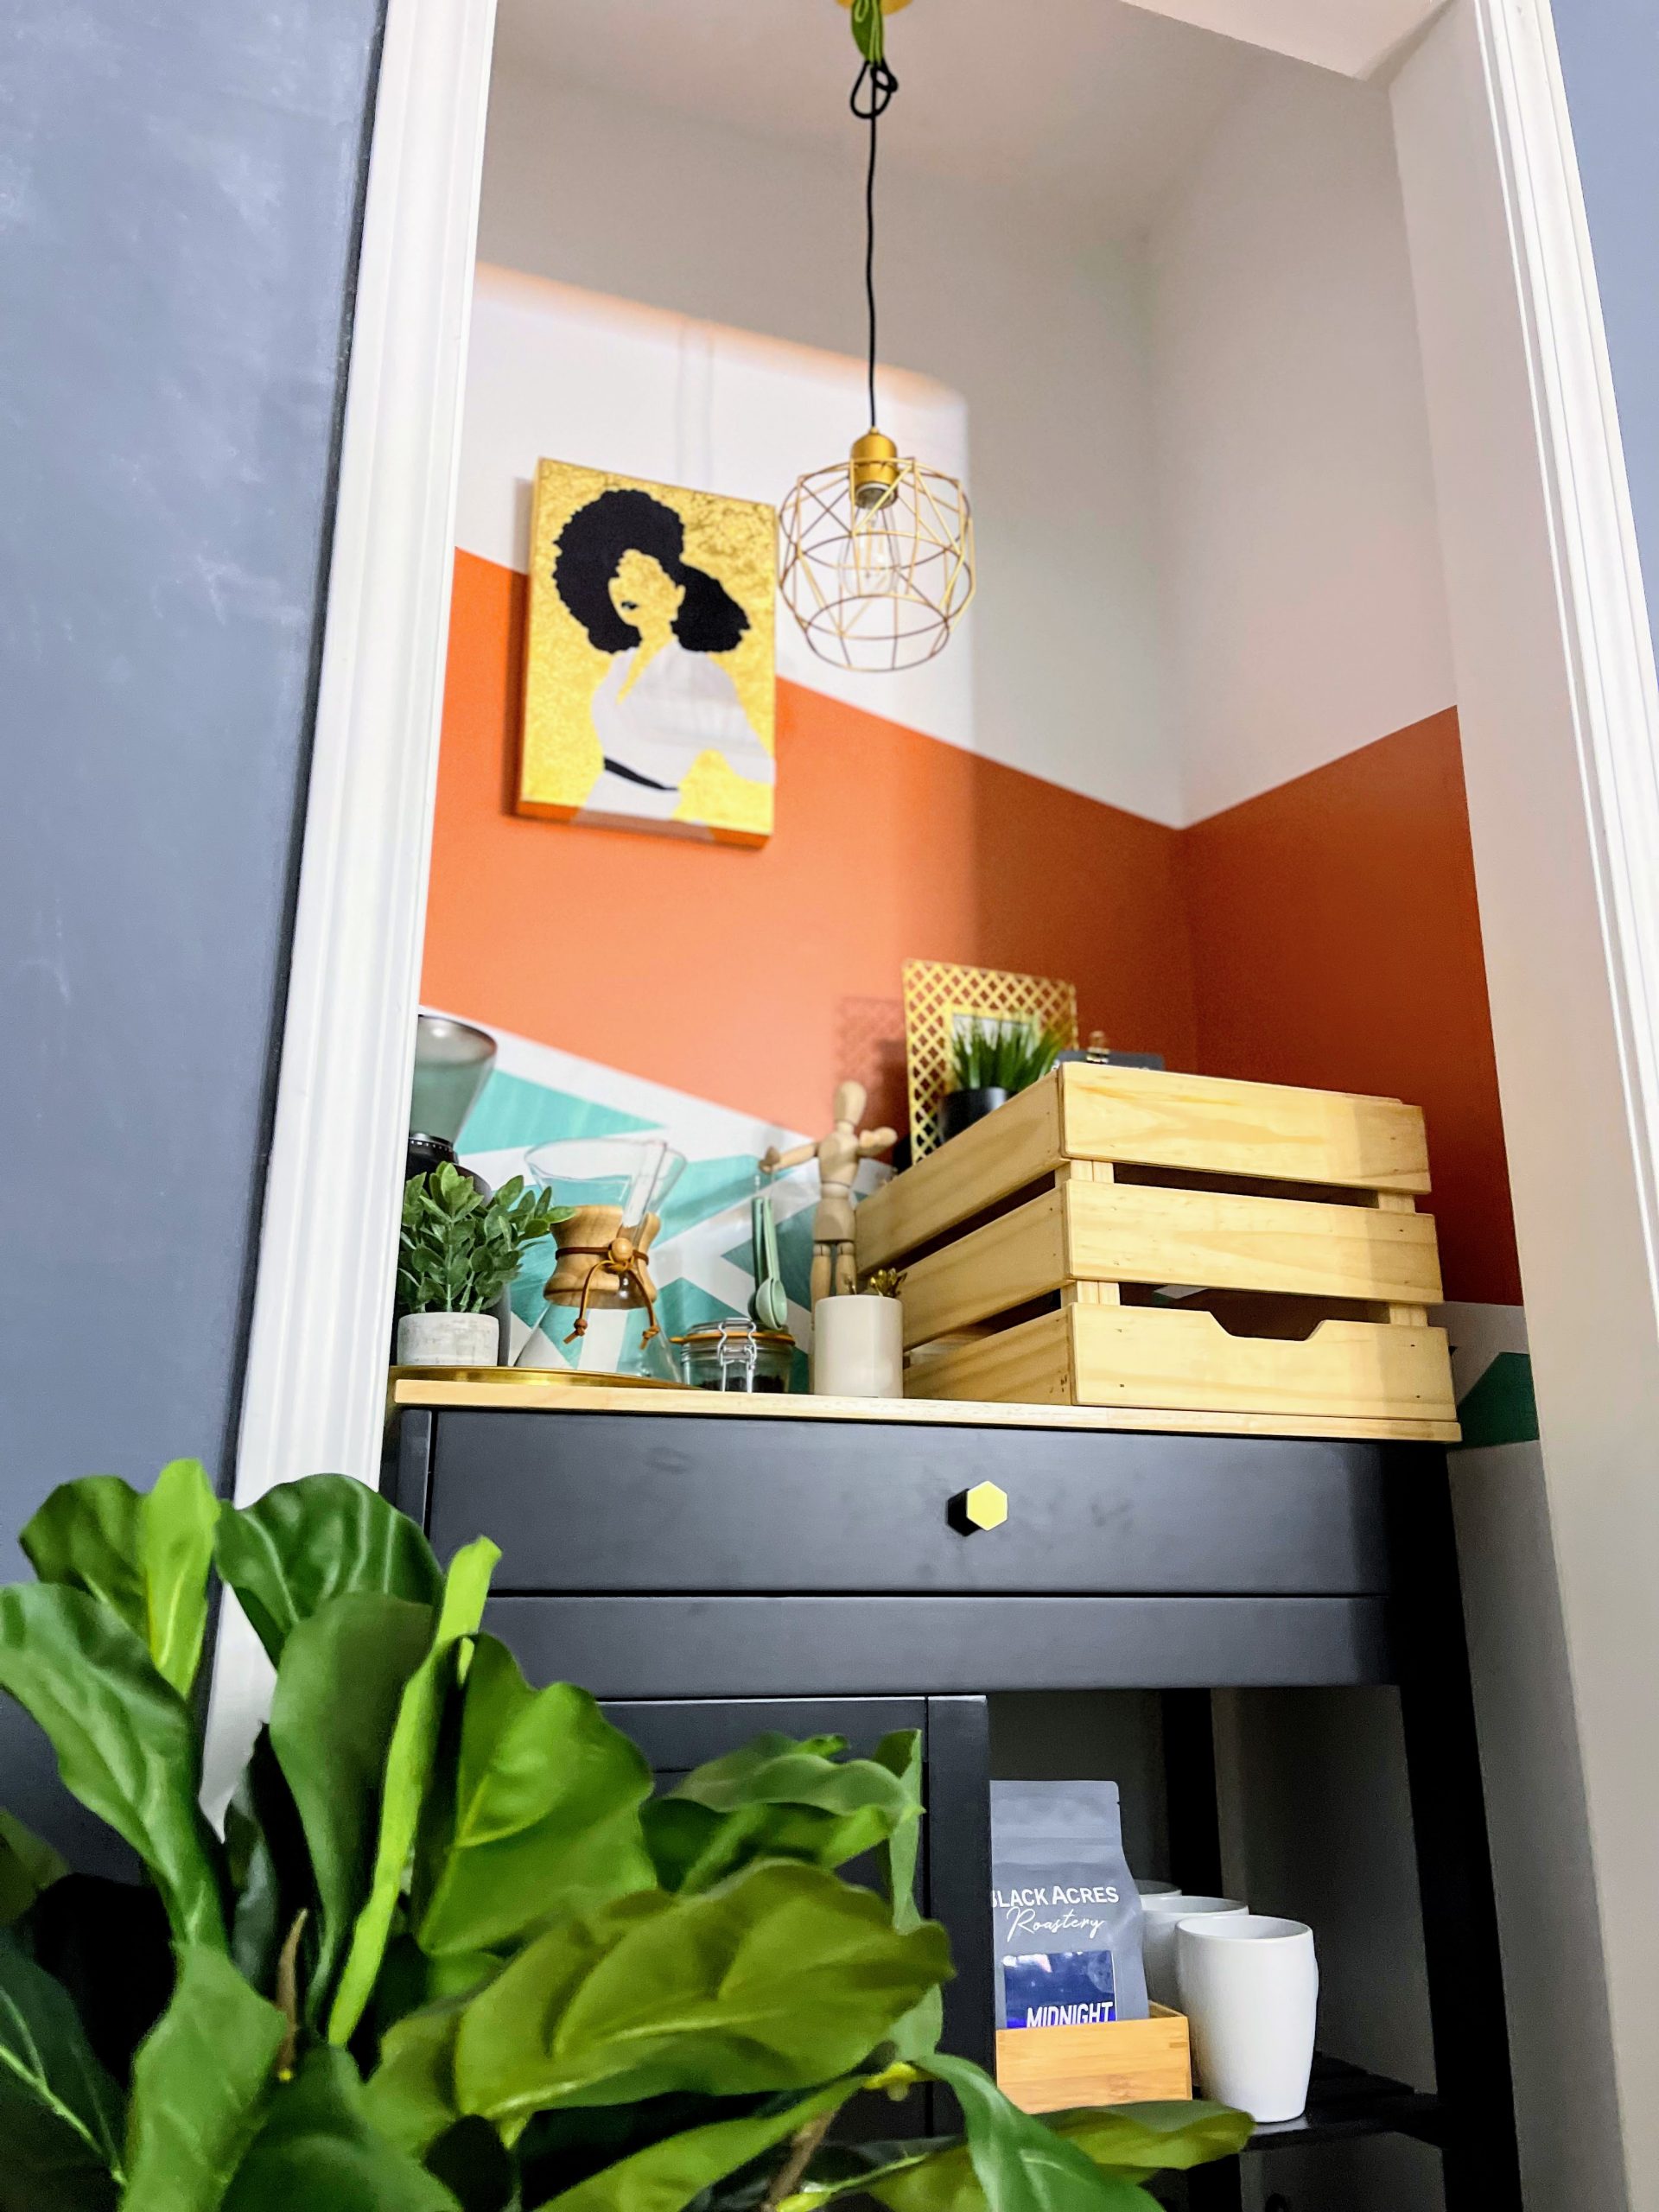
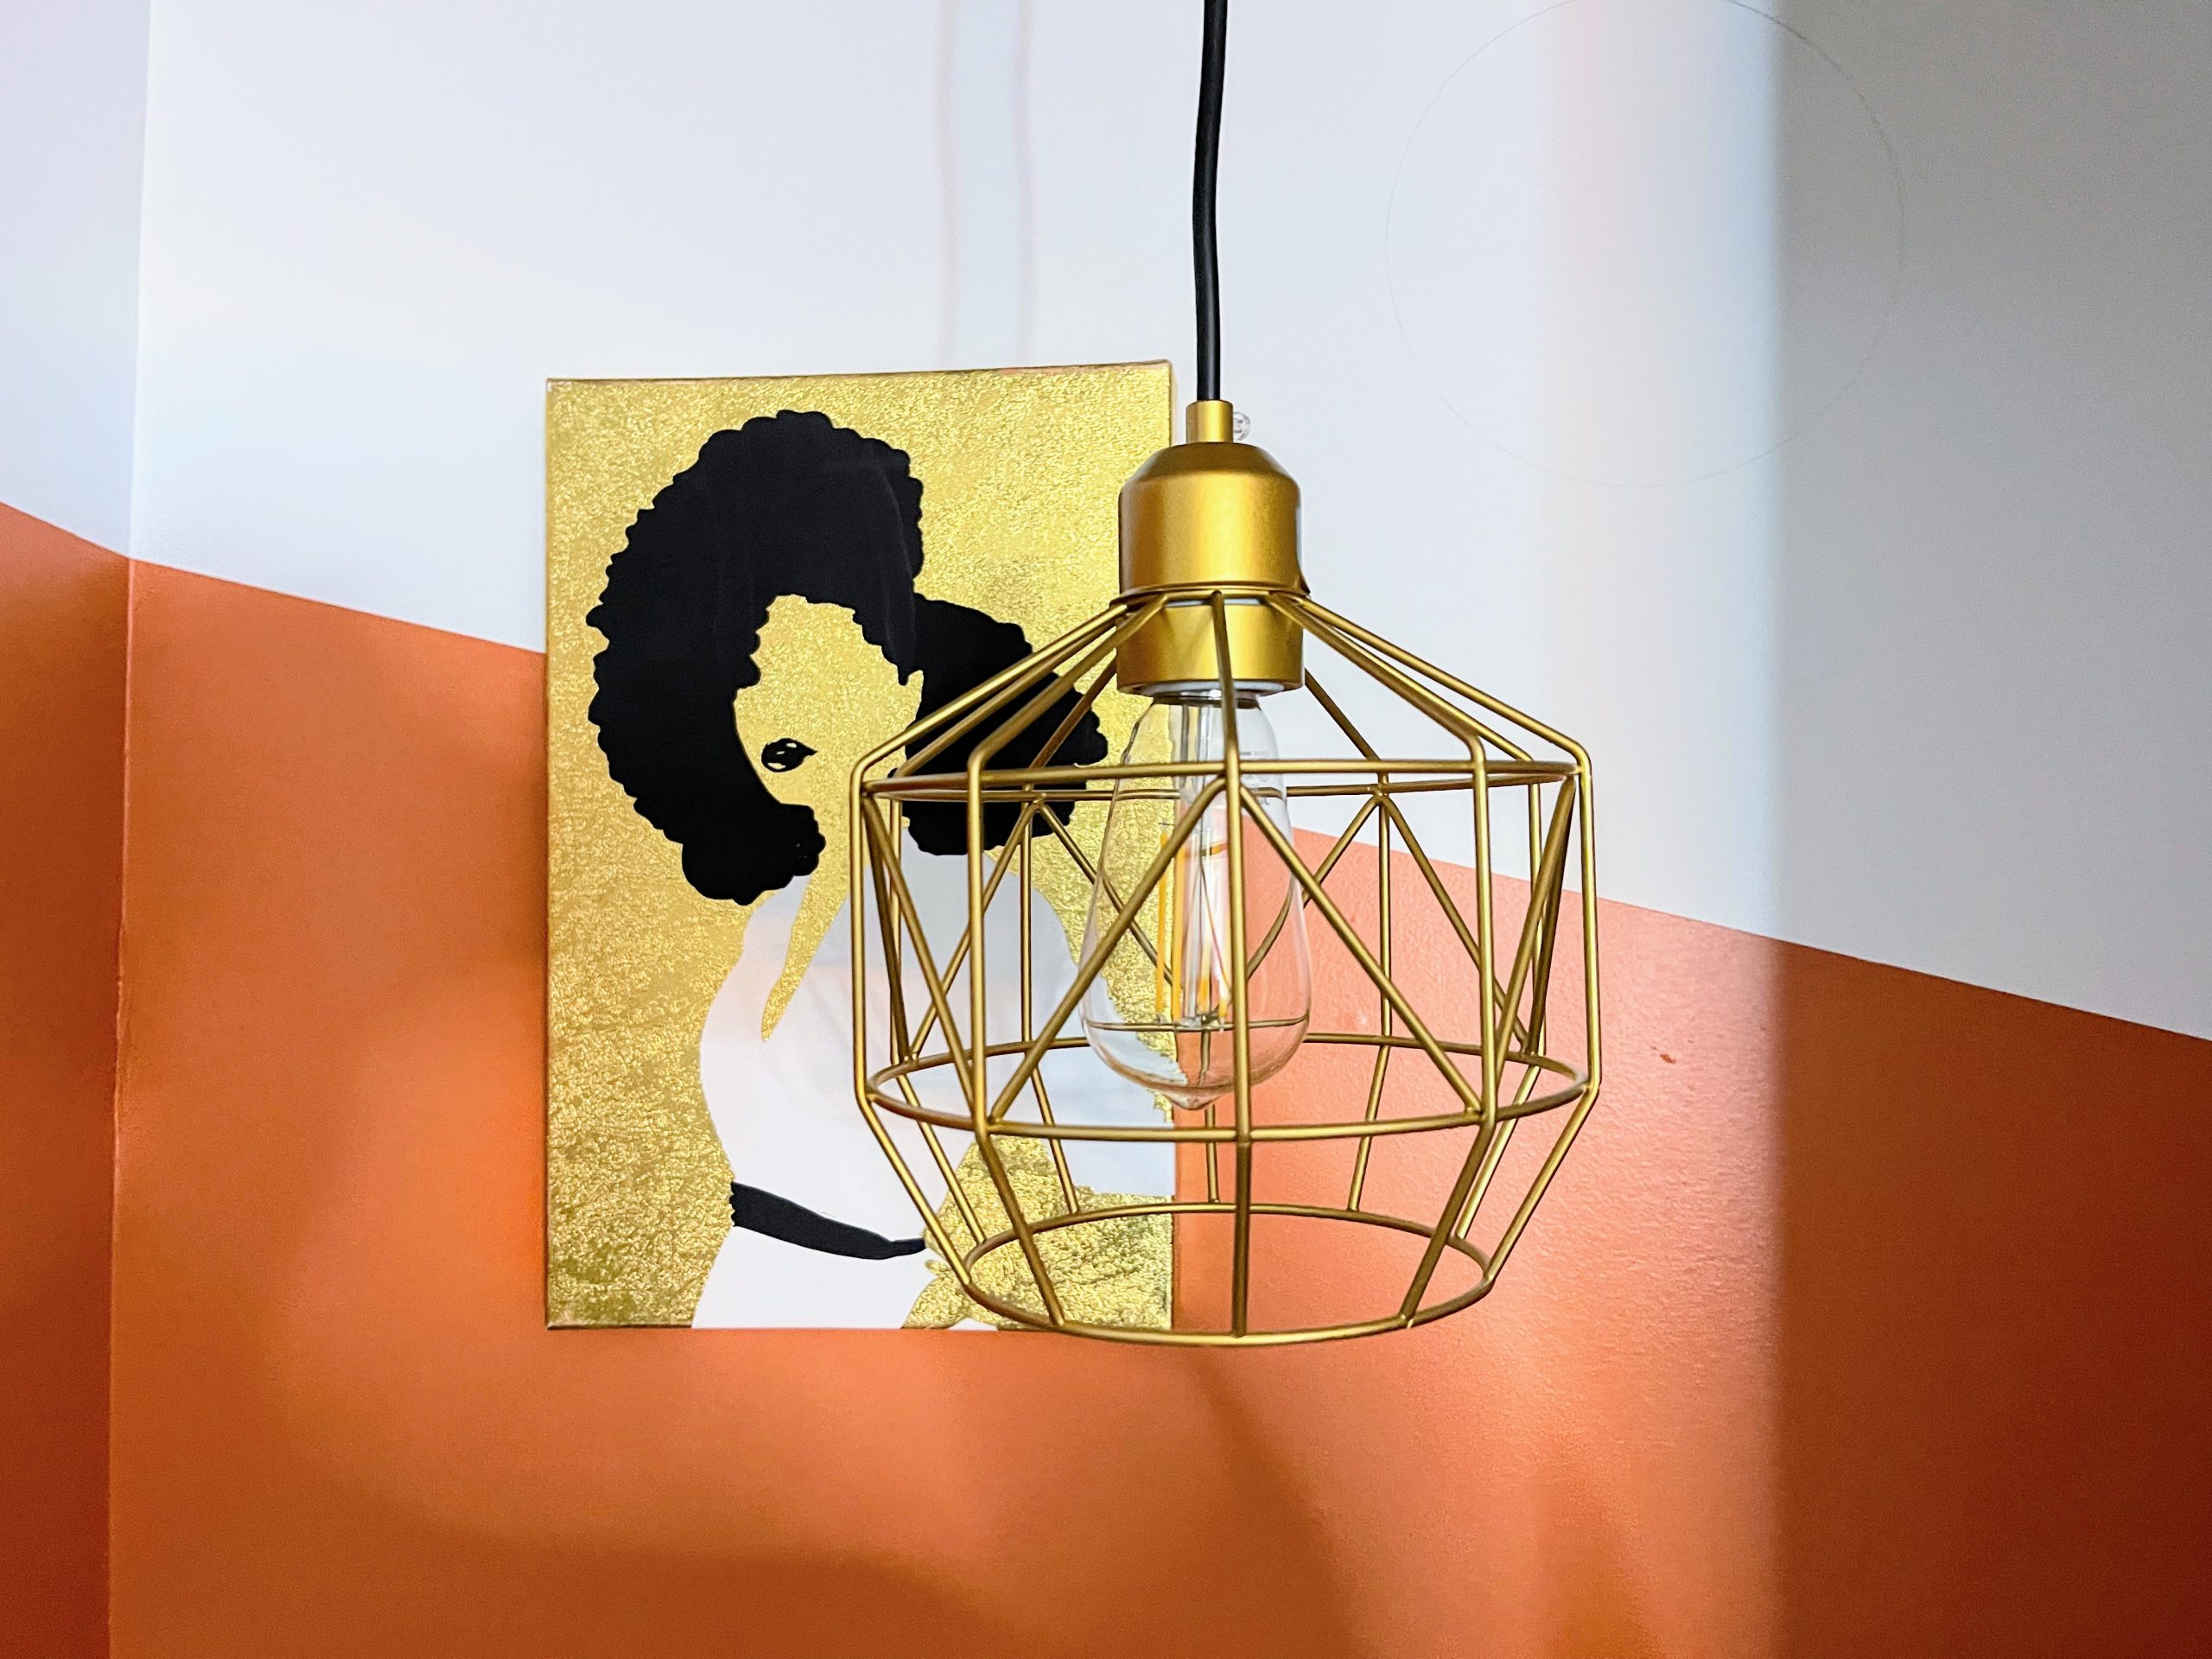


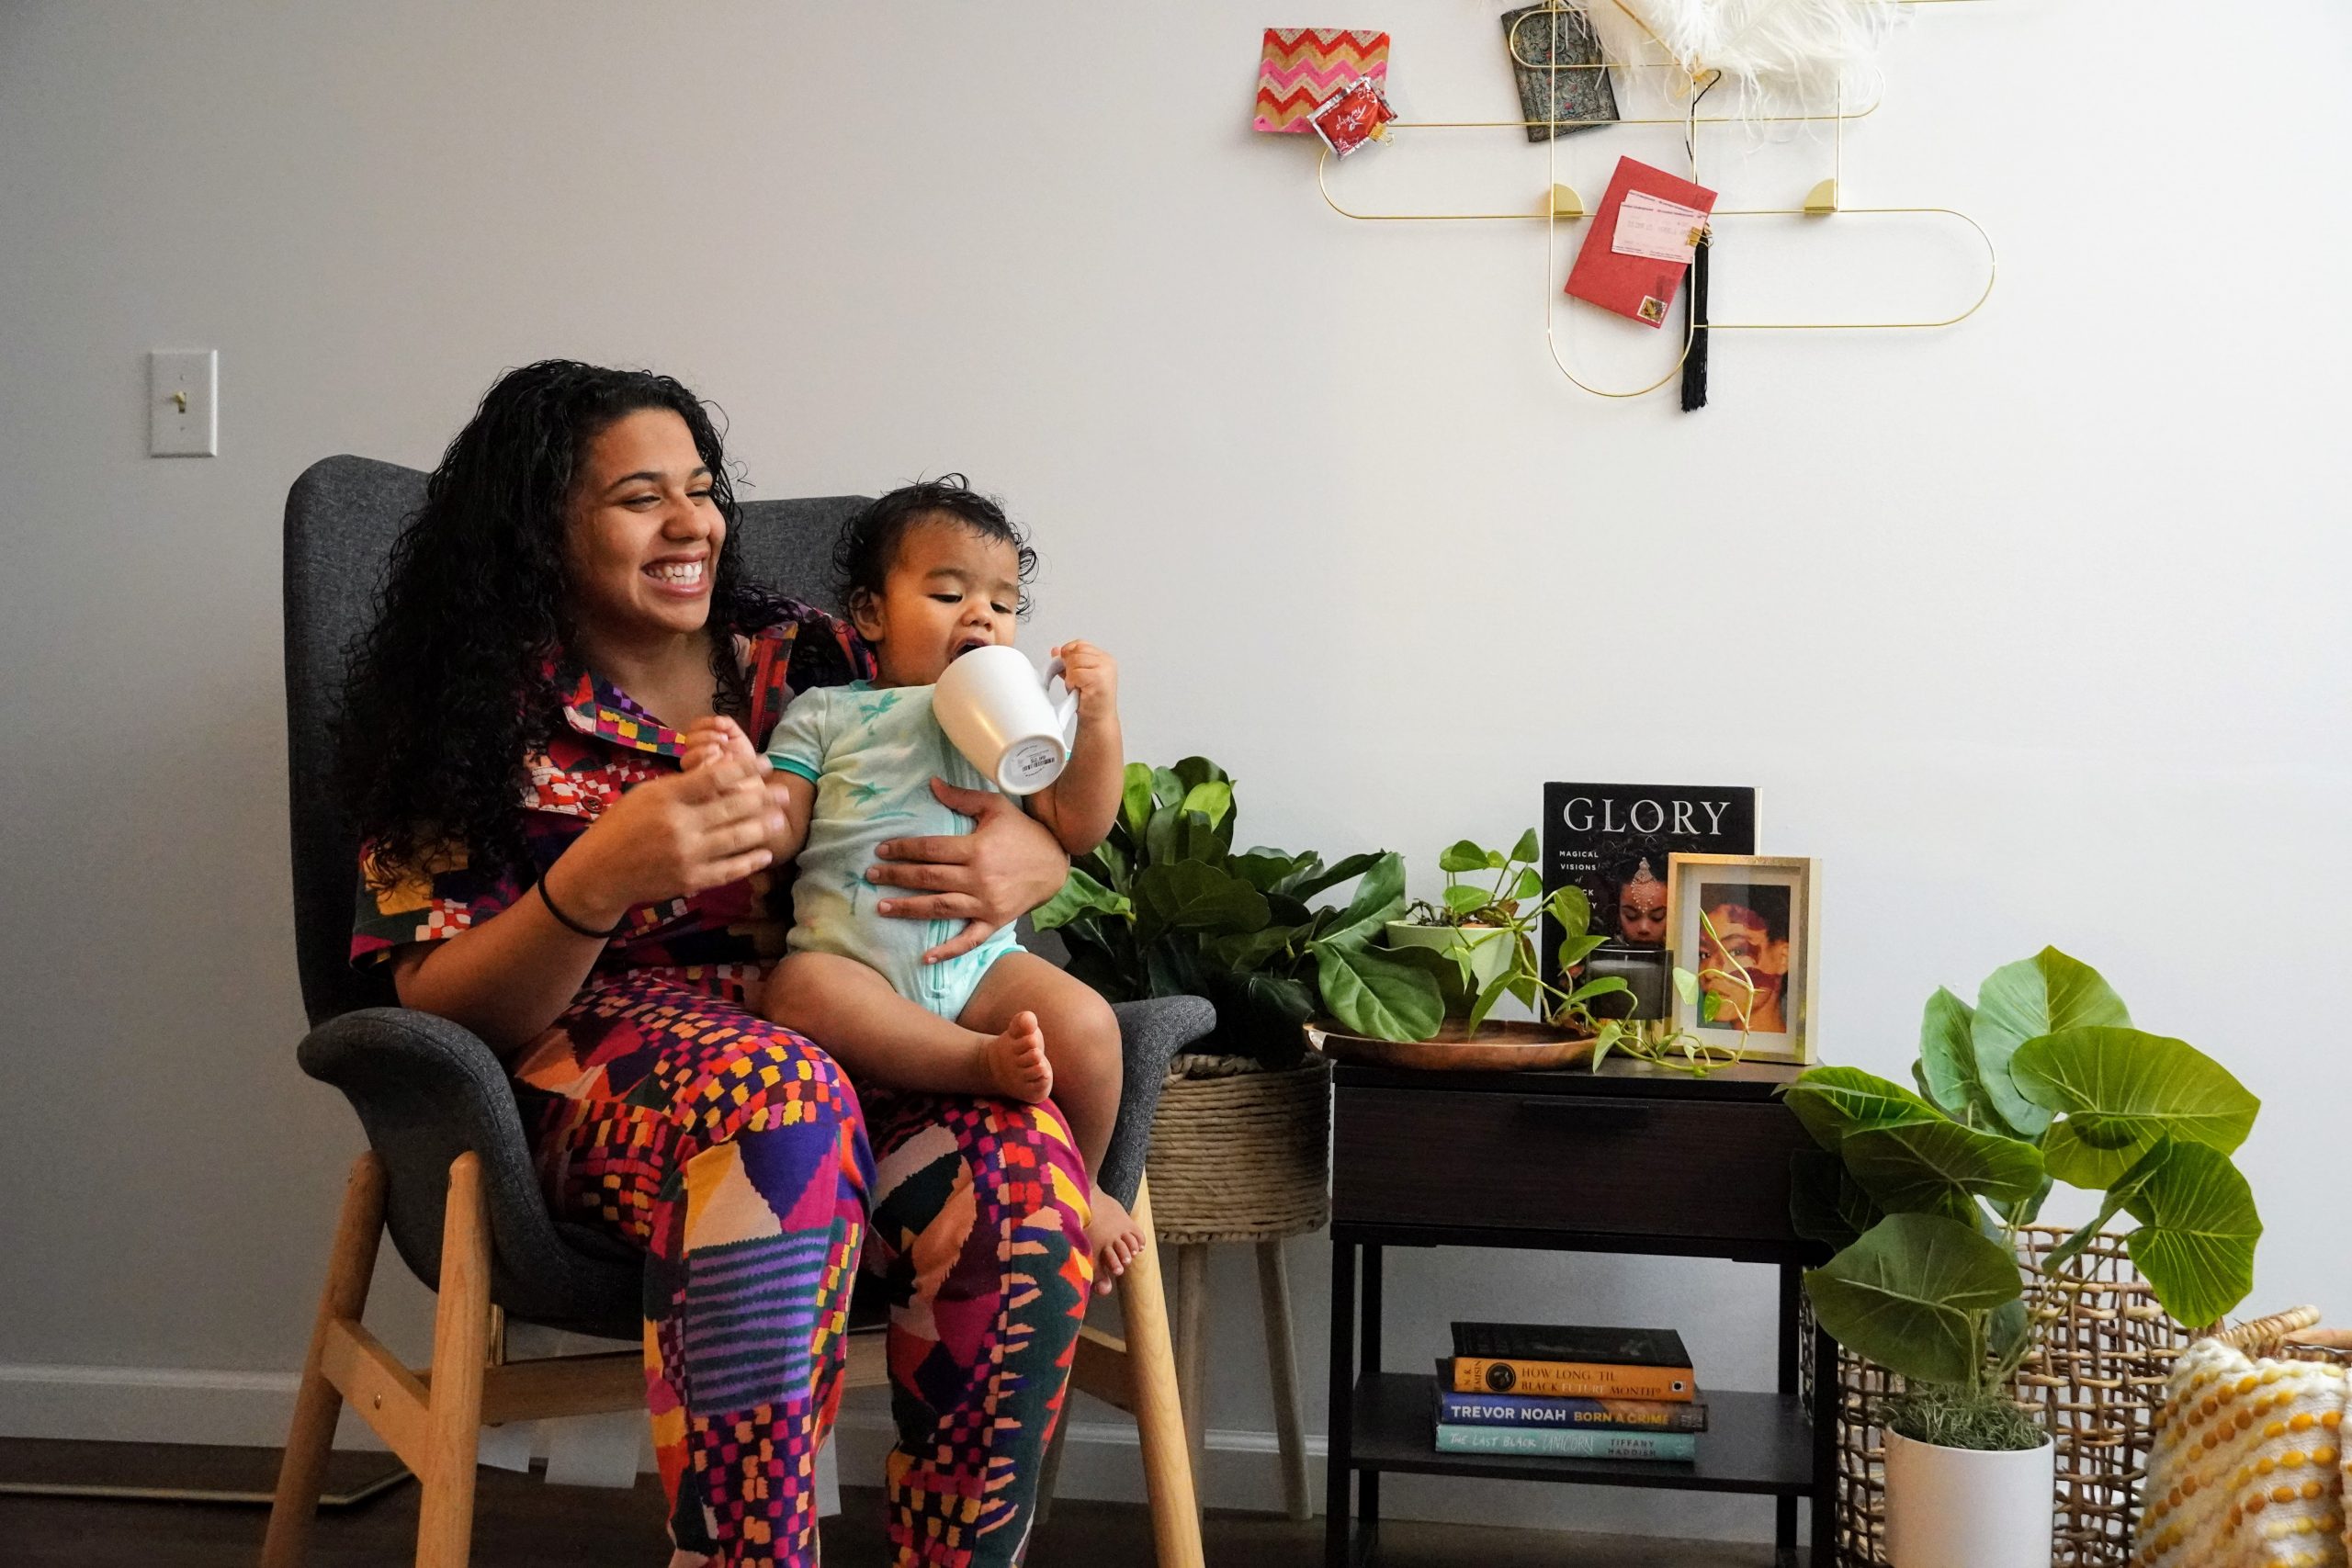
Did I surprise you with the coffee bar mural? It was a spur of the moment decision, and a really easy DIY! I taped off a section of wall to add an earthy, vibrant orange from a sample I’d picked up. Afterwards, I decided to add a turquoise element that reminded me of the society6 print I picked for the space. I used leftover paint samples with a very handy brush and creative taping to get the turquoise stone effect. If you’d like more detail on this, please leave me a comment!
That’s on Amazon? Where’d you get that?
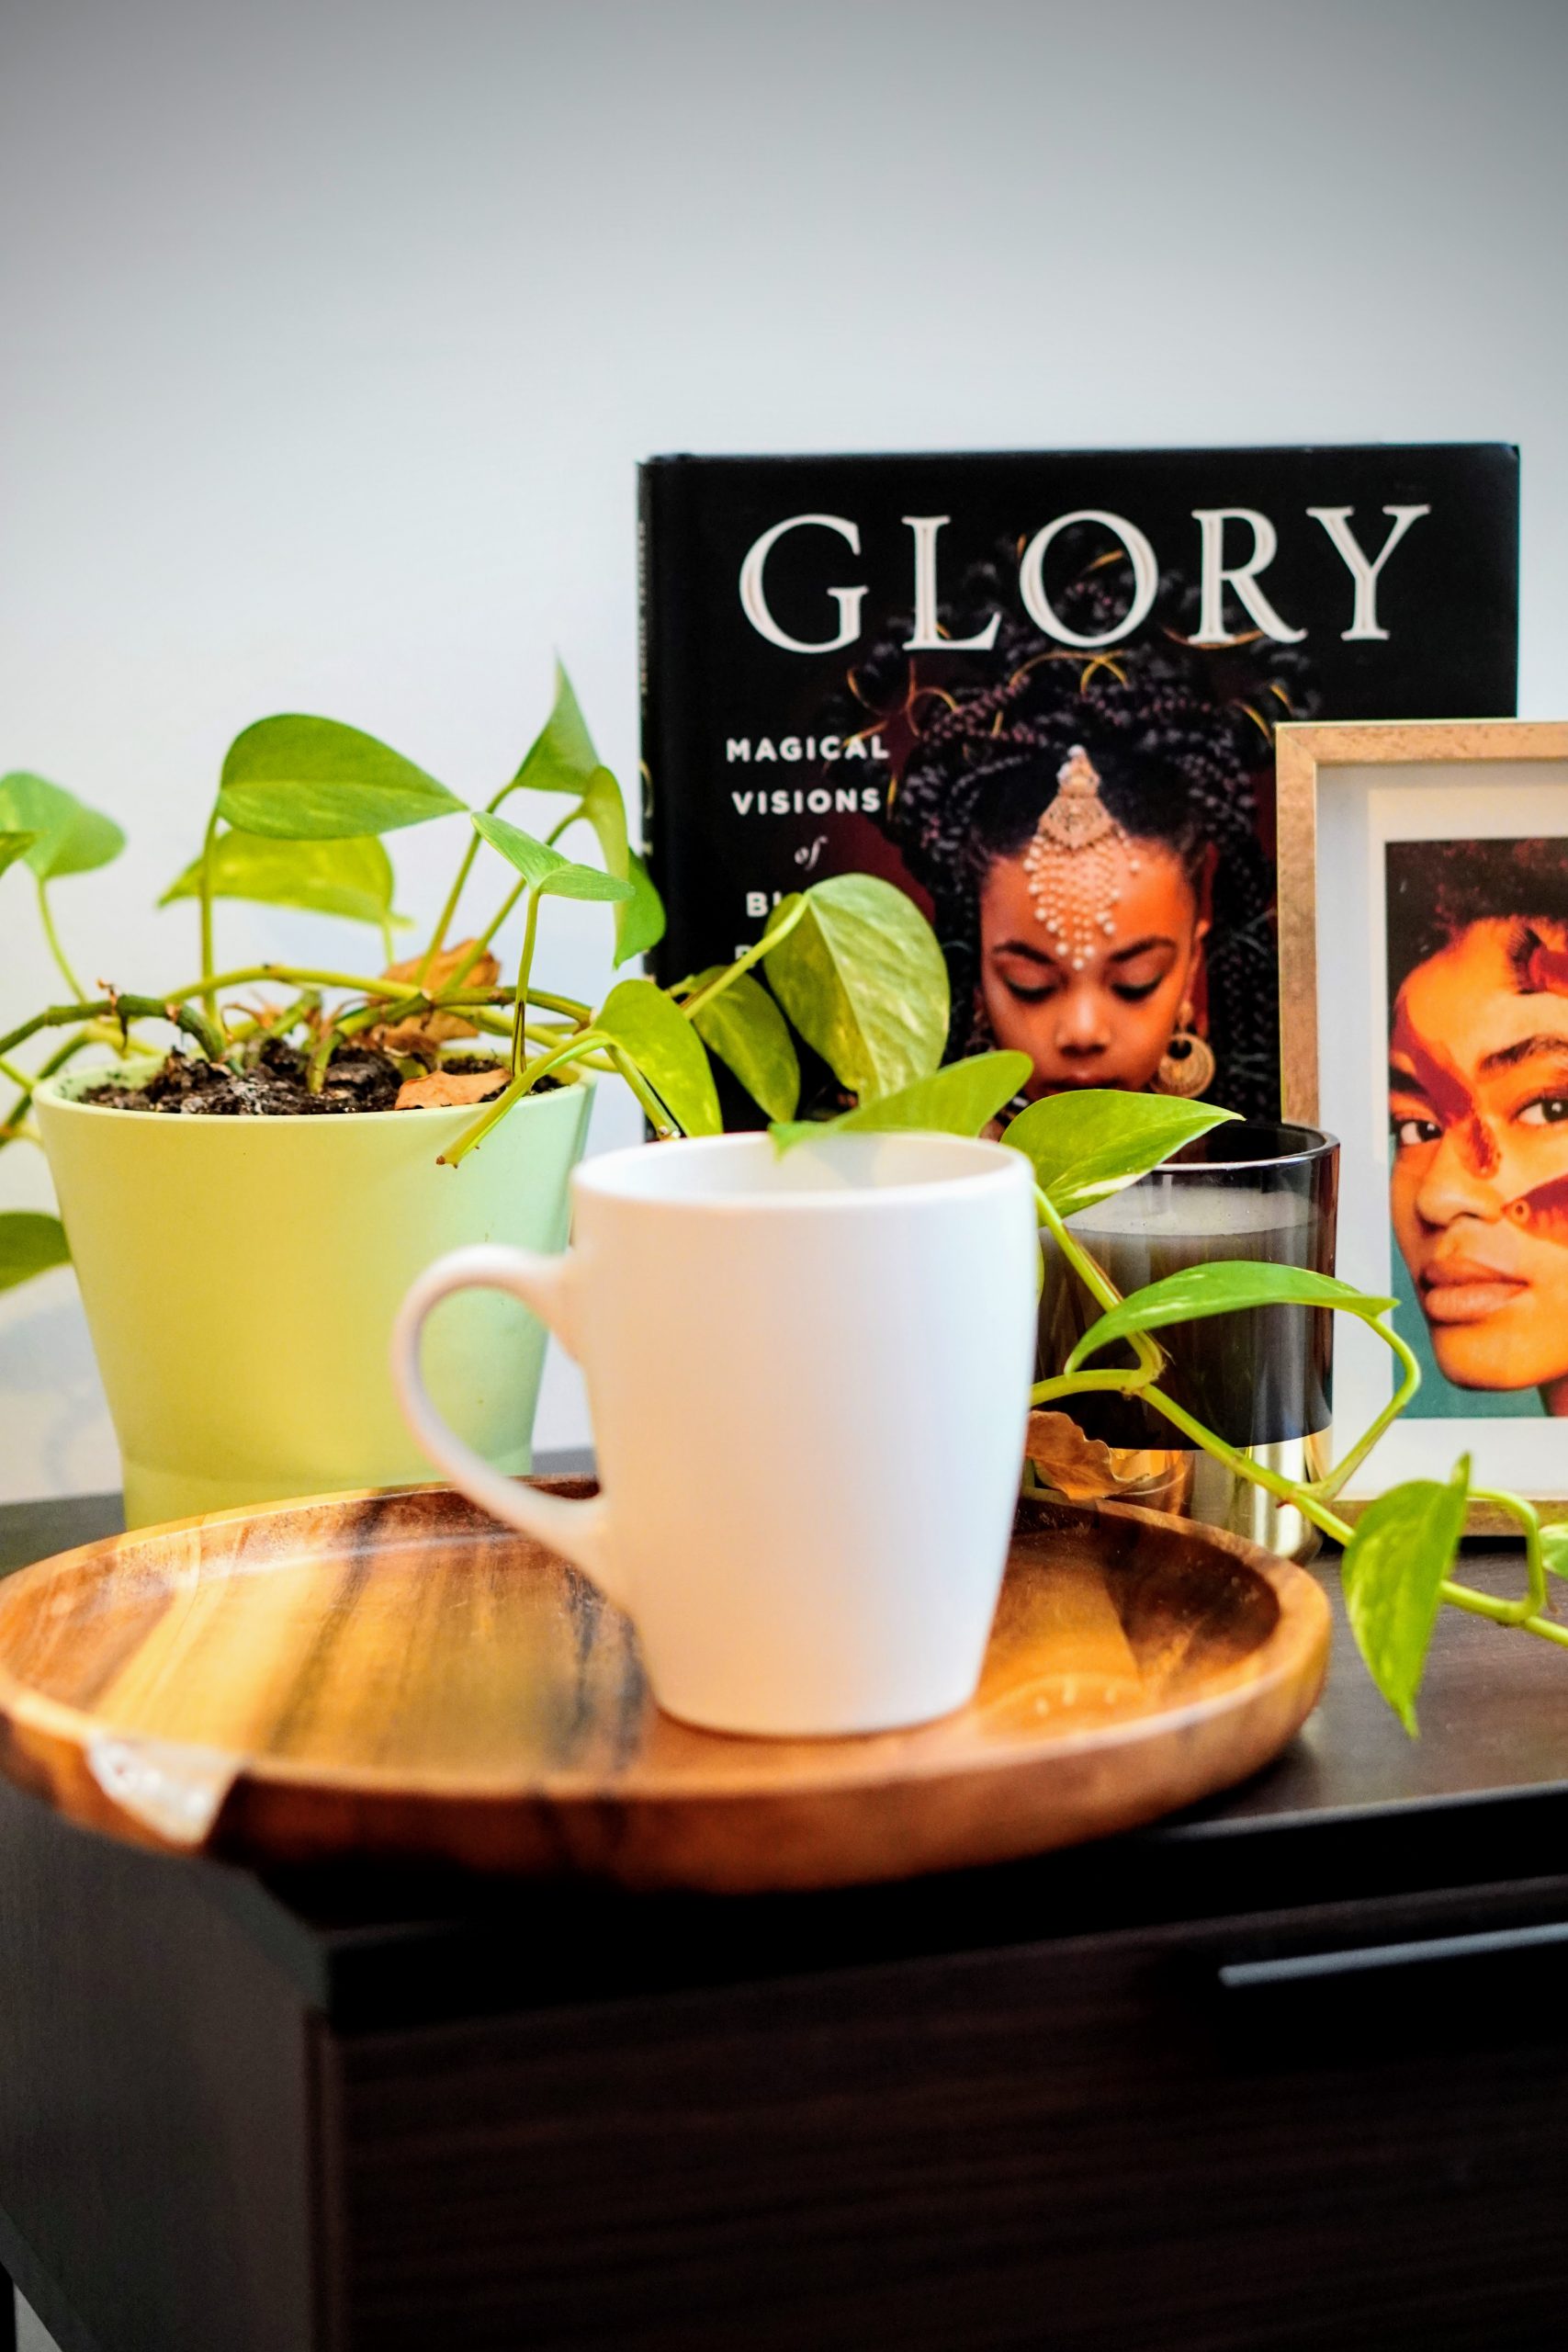
I styled the coffee bar with a mixture of things we already owned and a few new finds. The gold foil art is a new purchase from Homegoods, as well as the mugs, tasting cups, and the toothbrush holder I use for the coffee spoons. The light fixture and bulb was new from Amazon, the kitchen cart (which I do NOT recommend, here are a couple of others from Ikea that would be much easier to assemble: option 1, option 2), new knobs, and hairpin legs were also Amazon purchases. I finally got this wooden figure from Ikea after both me and my husband wanting one for 5 years. It’s silly, because it’s inexpensive… but we couldn’t justify or find a place for one with no dedicated office.
The rest are things we already owned, like the Chemex, coffee grinder, storage containers from Target, crate, milk frother, and brass tray from Ikea, and our lovely gold coffee spoons that I used to use as baby spoons when Ismet was just starting solids. If you look closely, you’ll spot the two blends that Black Acres Roastery is giving away for the end of One Room Challenge! (There’s still a little time to enter the giveaway if you haven’t already!)
One detail I love in the coffee bar is the cabinet concealing a 5 gallon water jug with this inexpensive electric pump. It makes it so convenient to boil a kettle of water for pour-overs or tea. The kitchen downstairs is the only other source of filtered water, but second floor guest bathroom is great for rinsing out used cups!
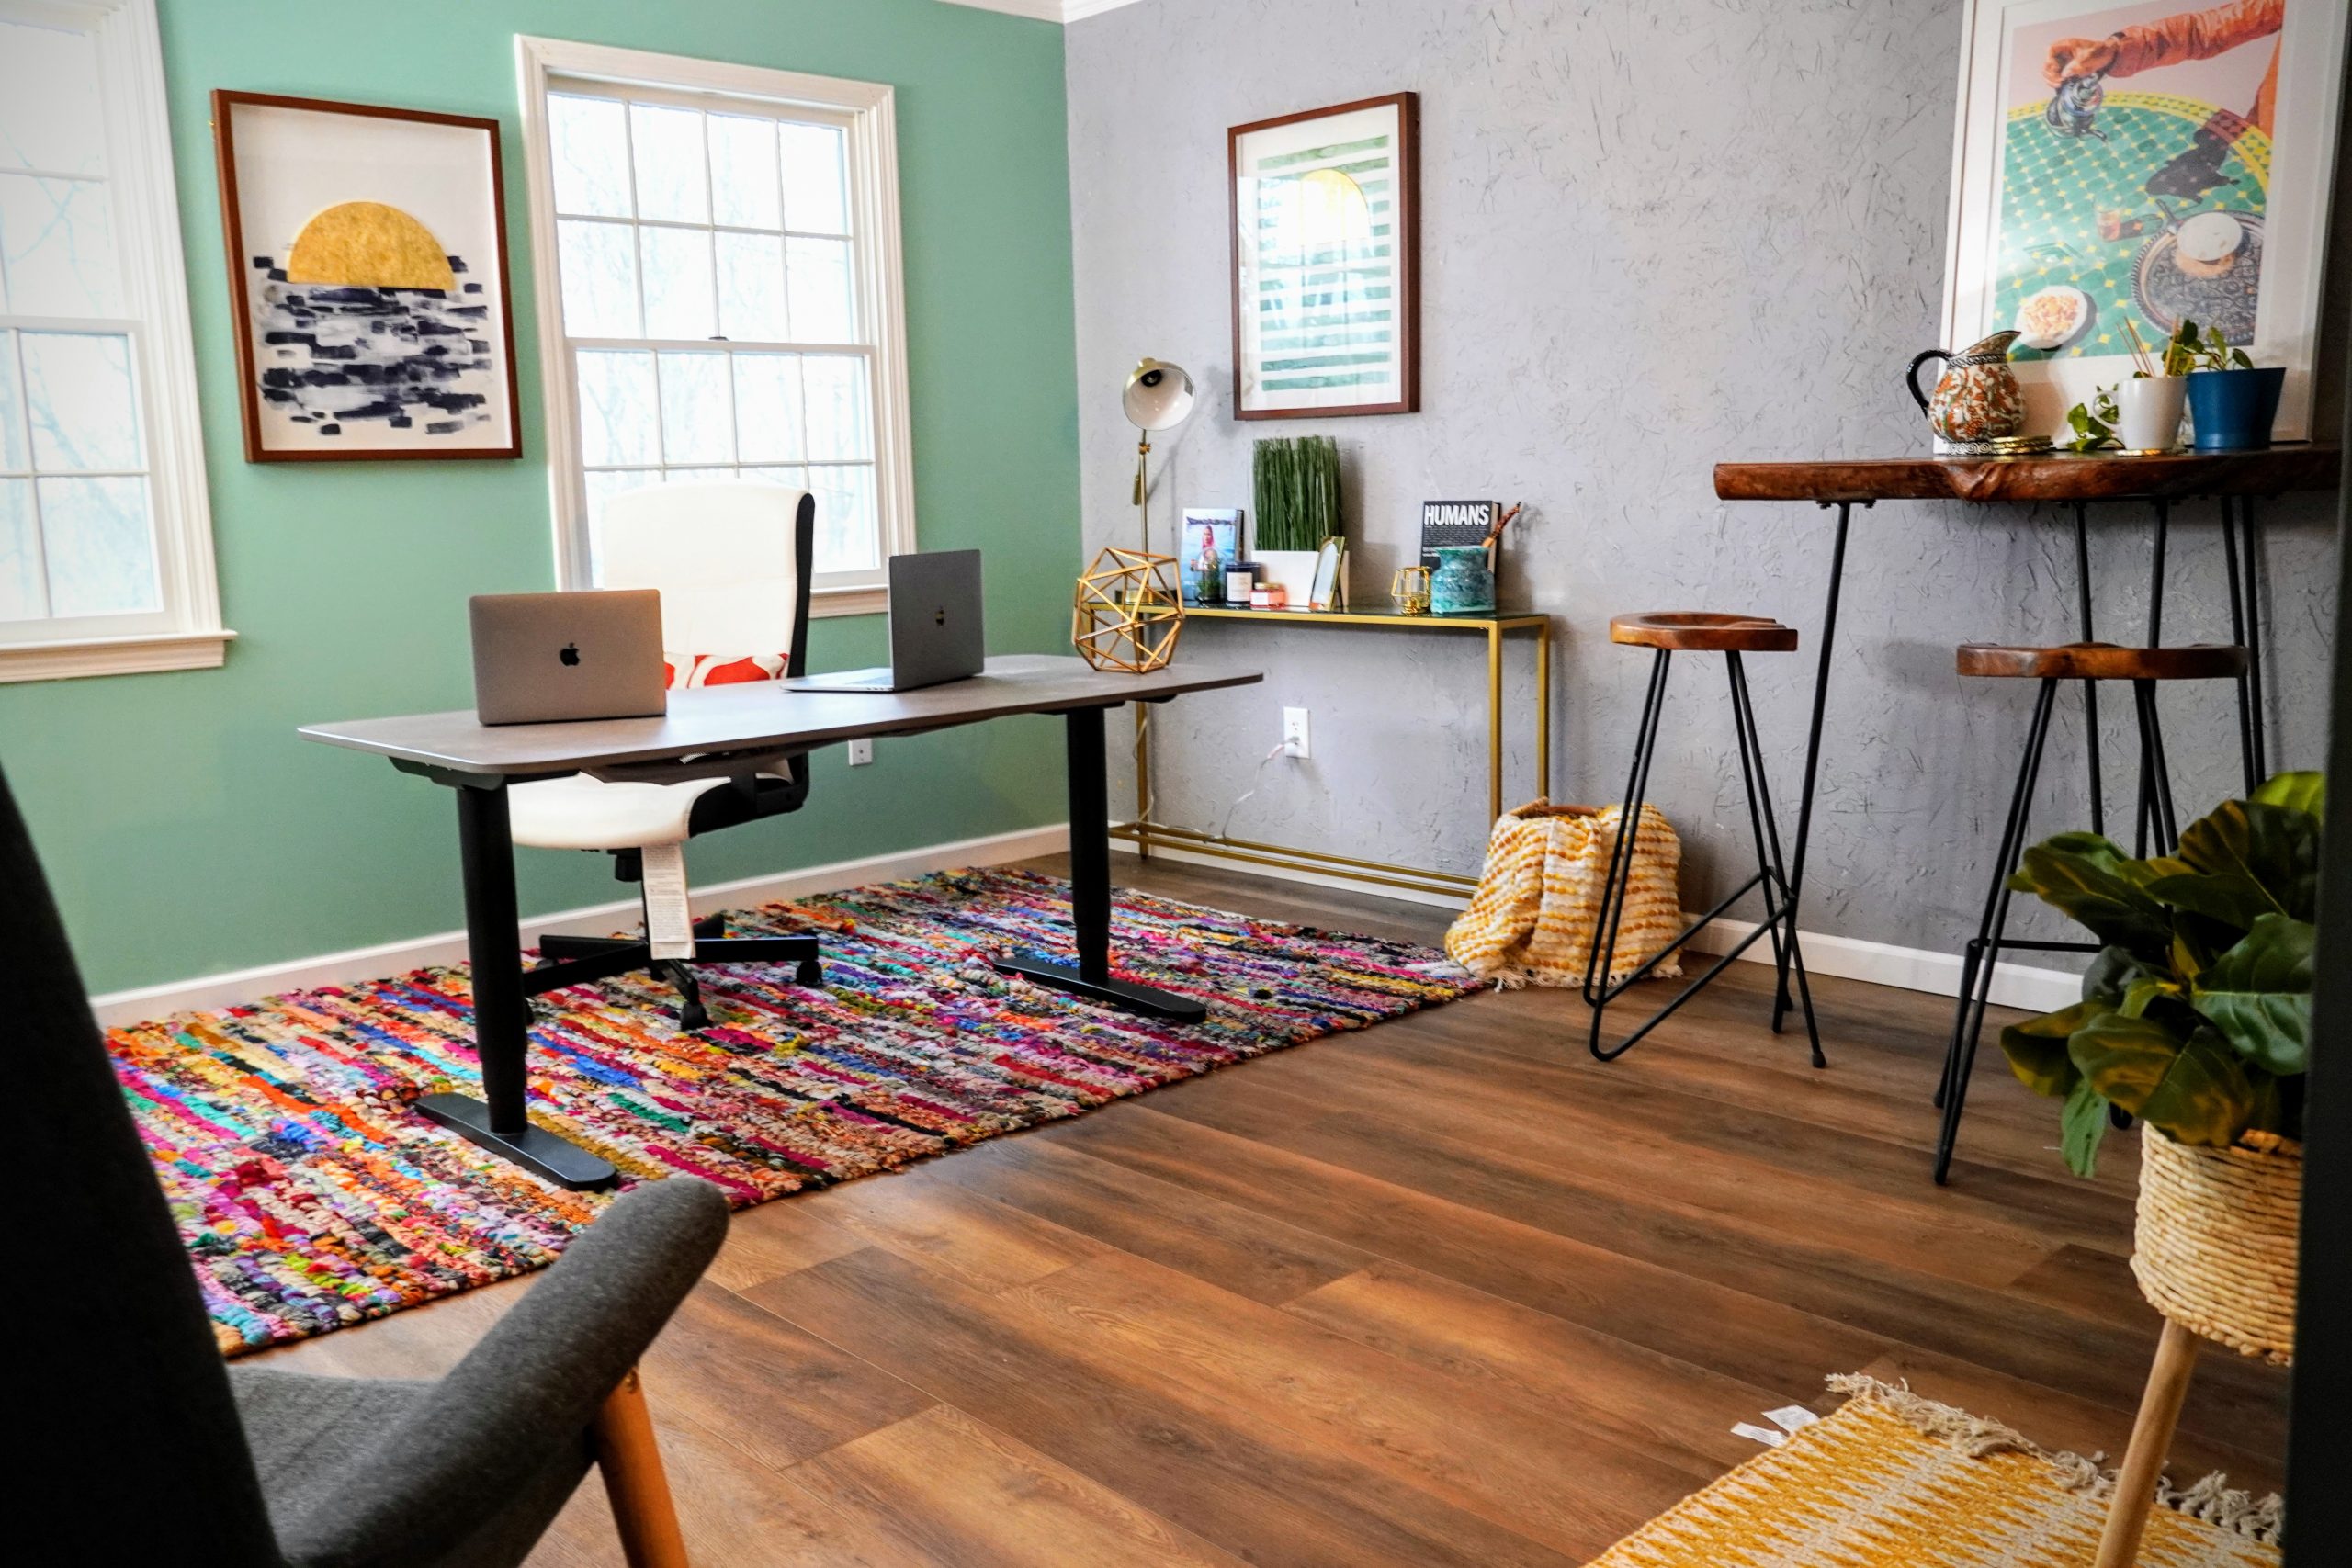
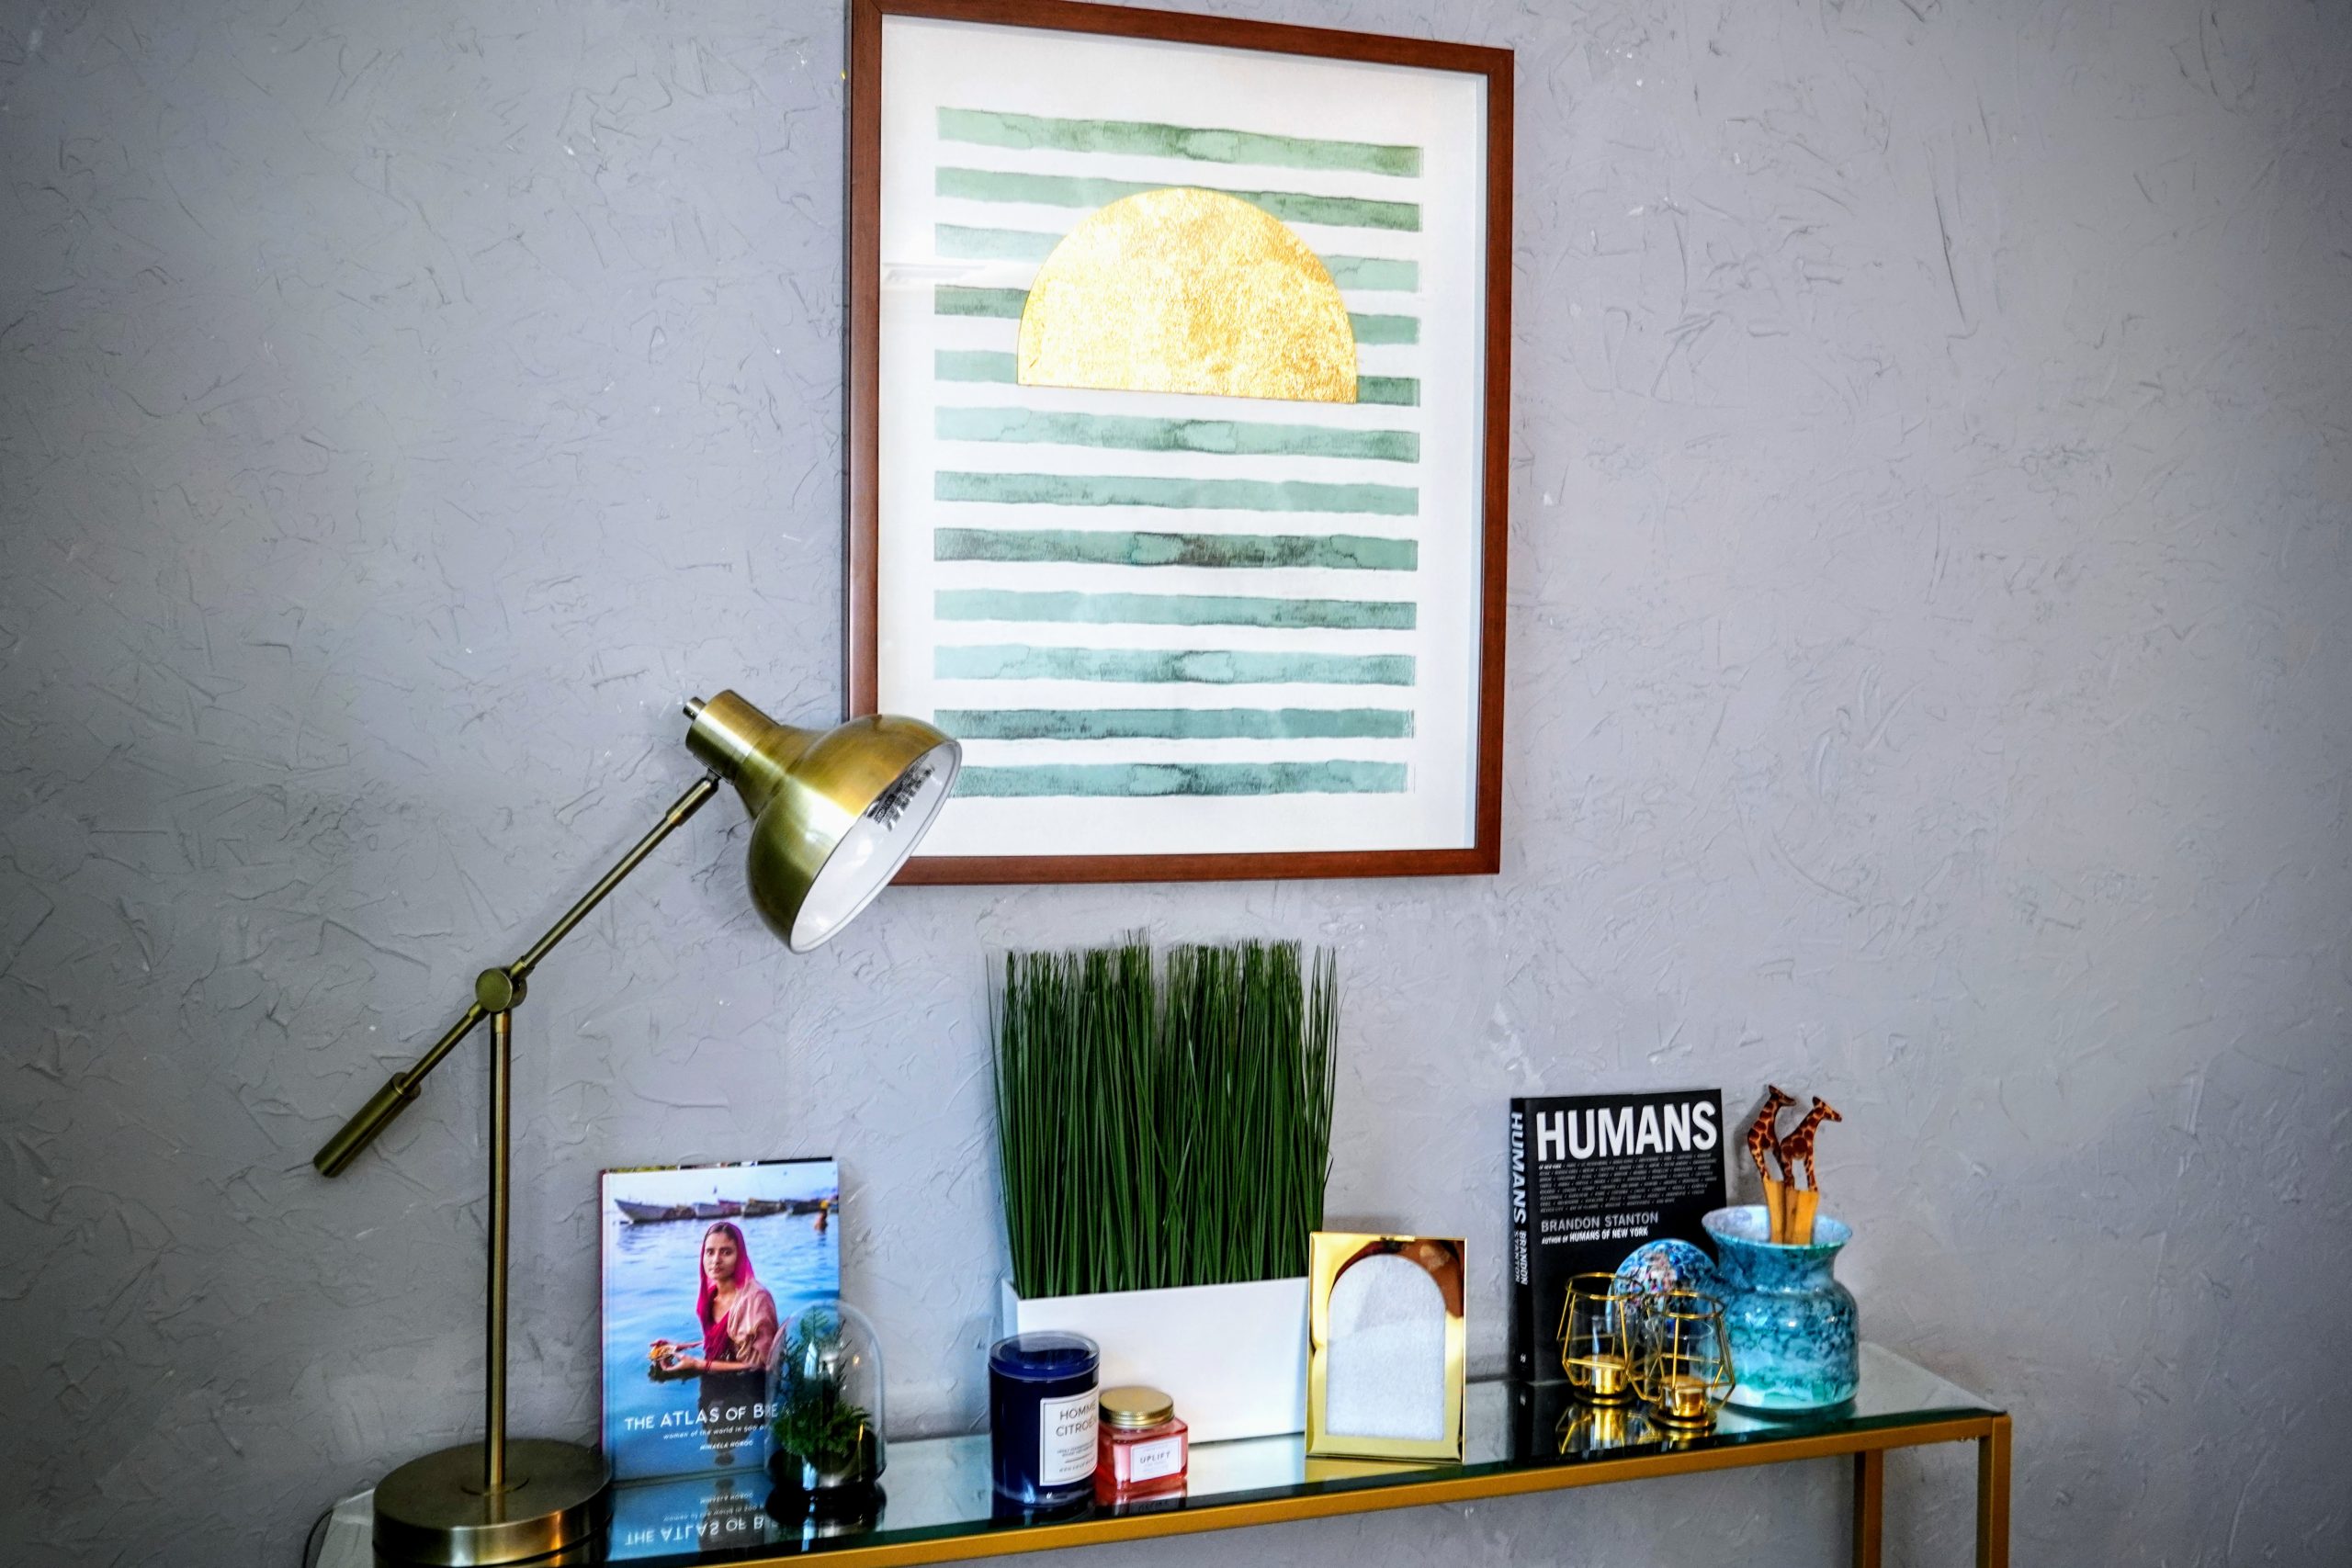
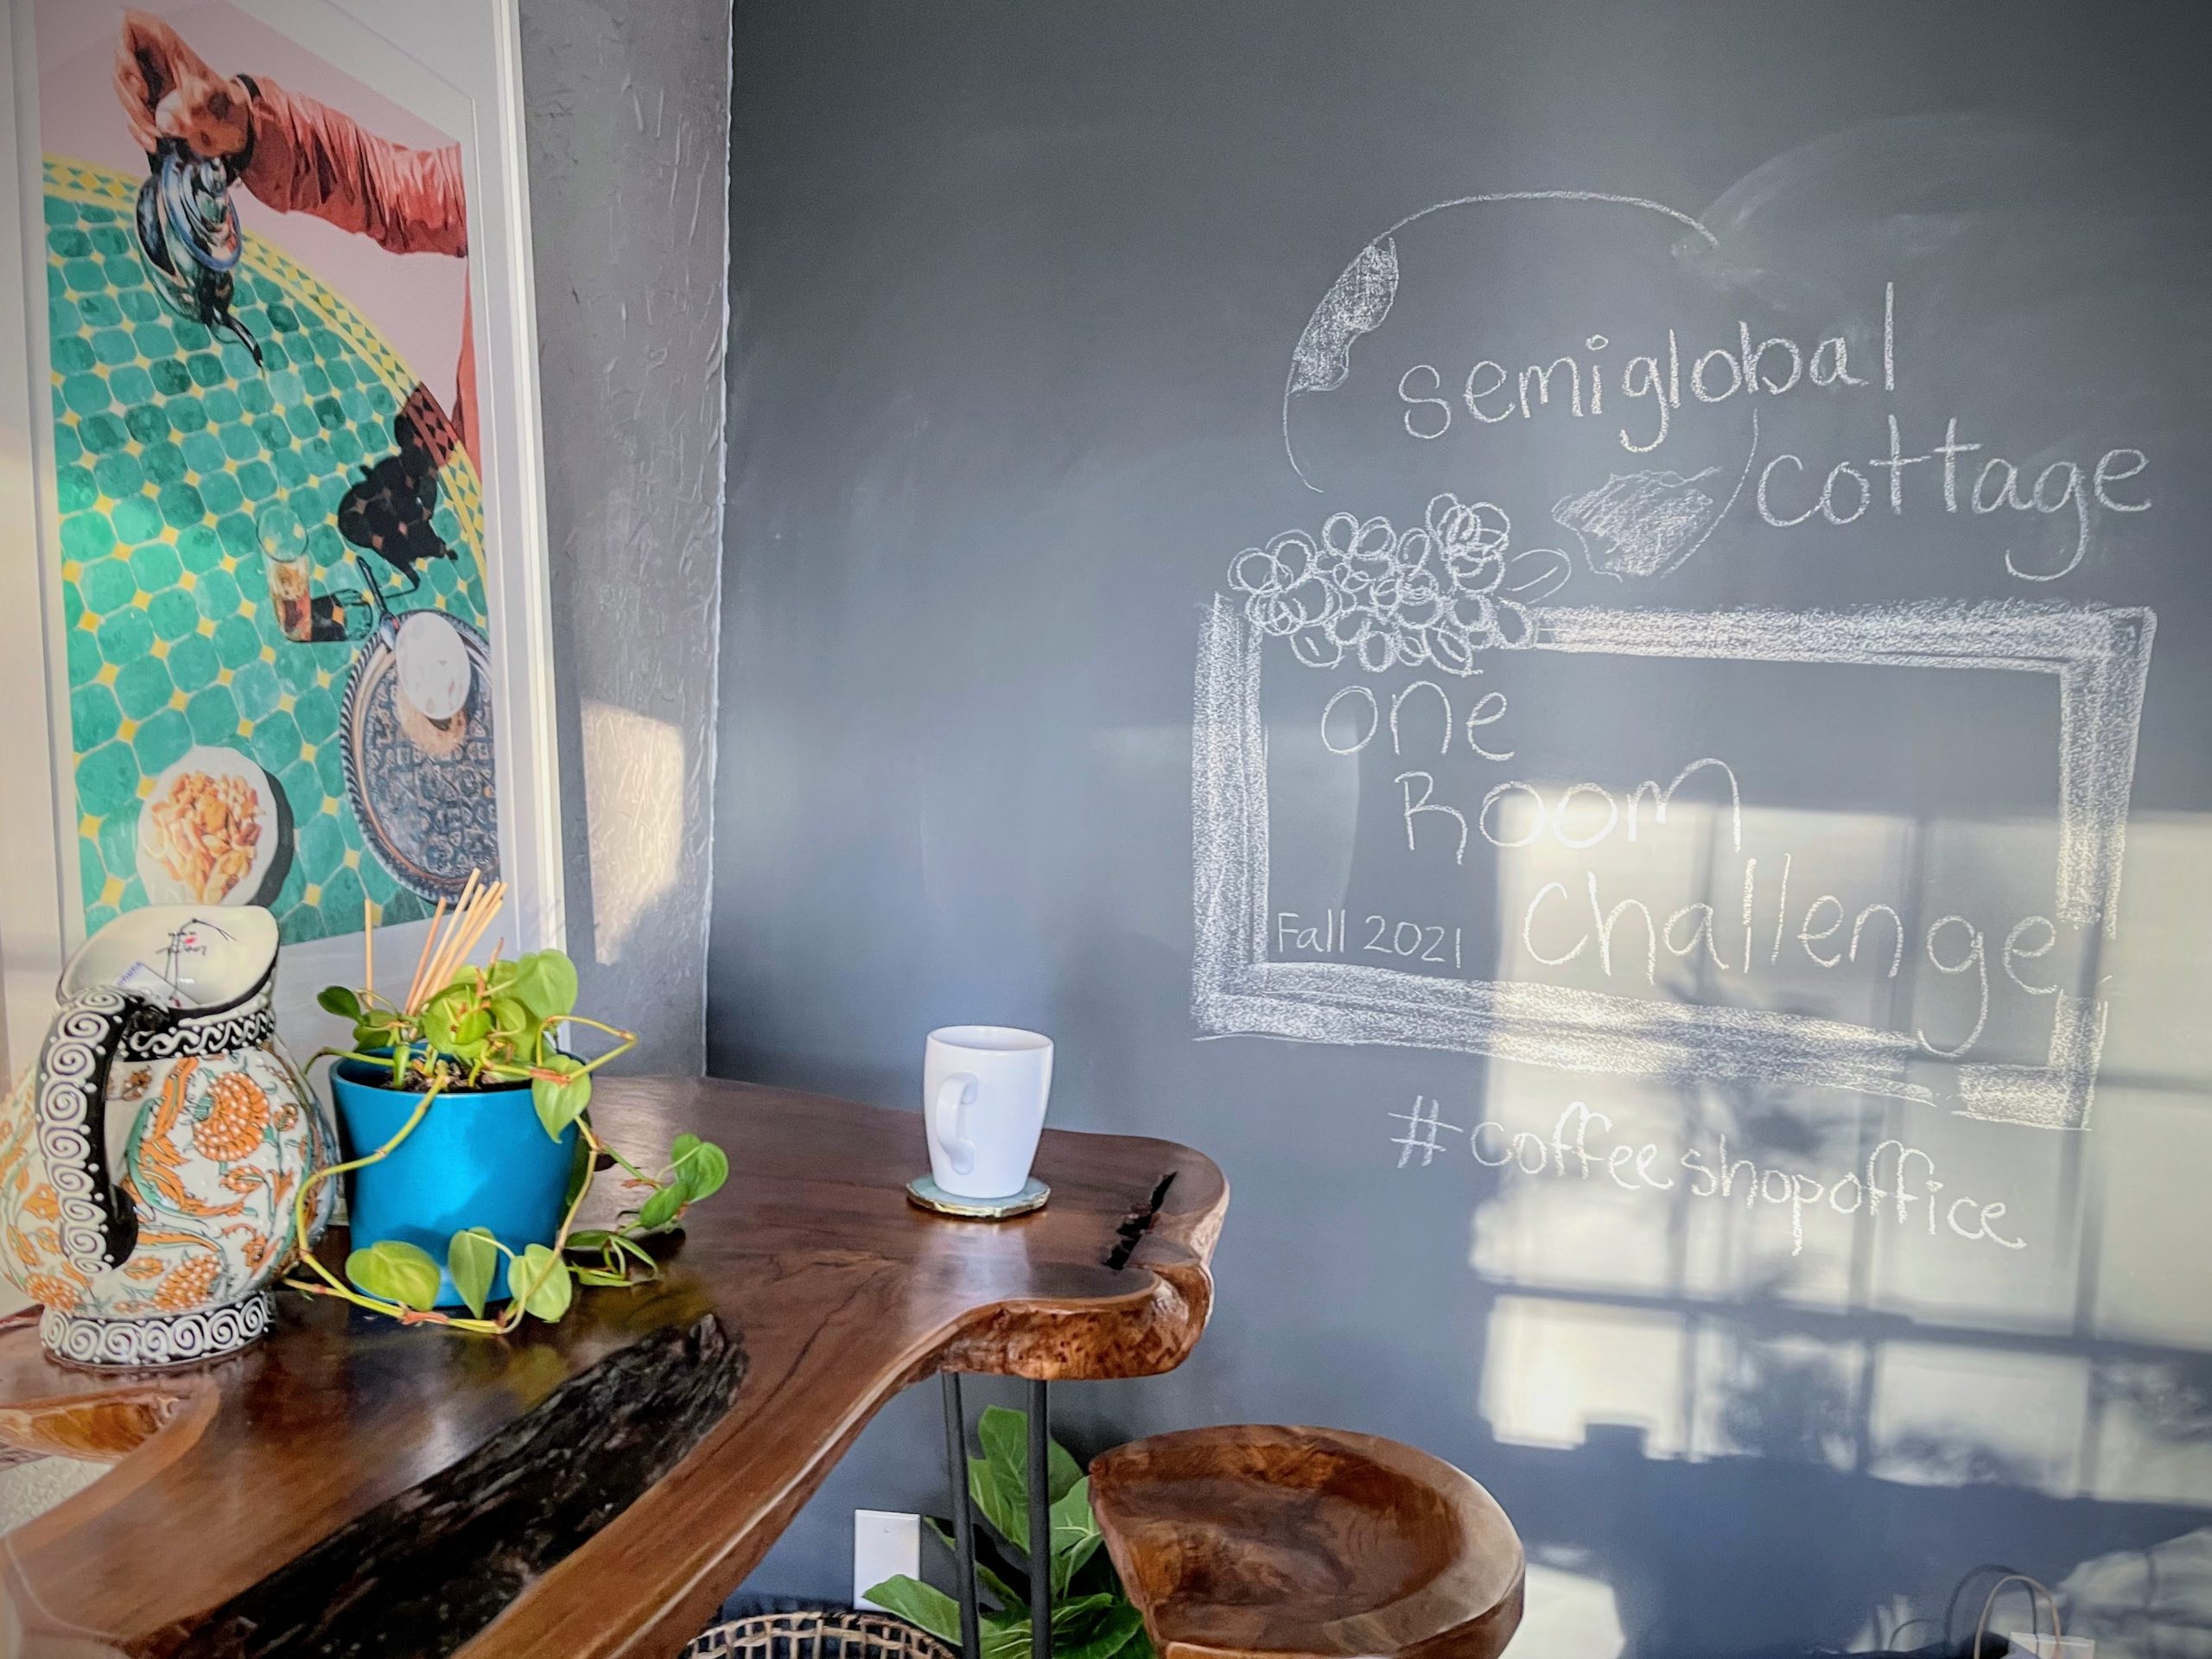
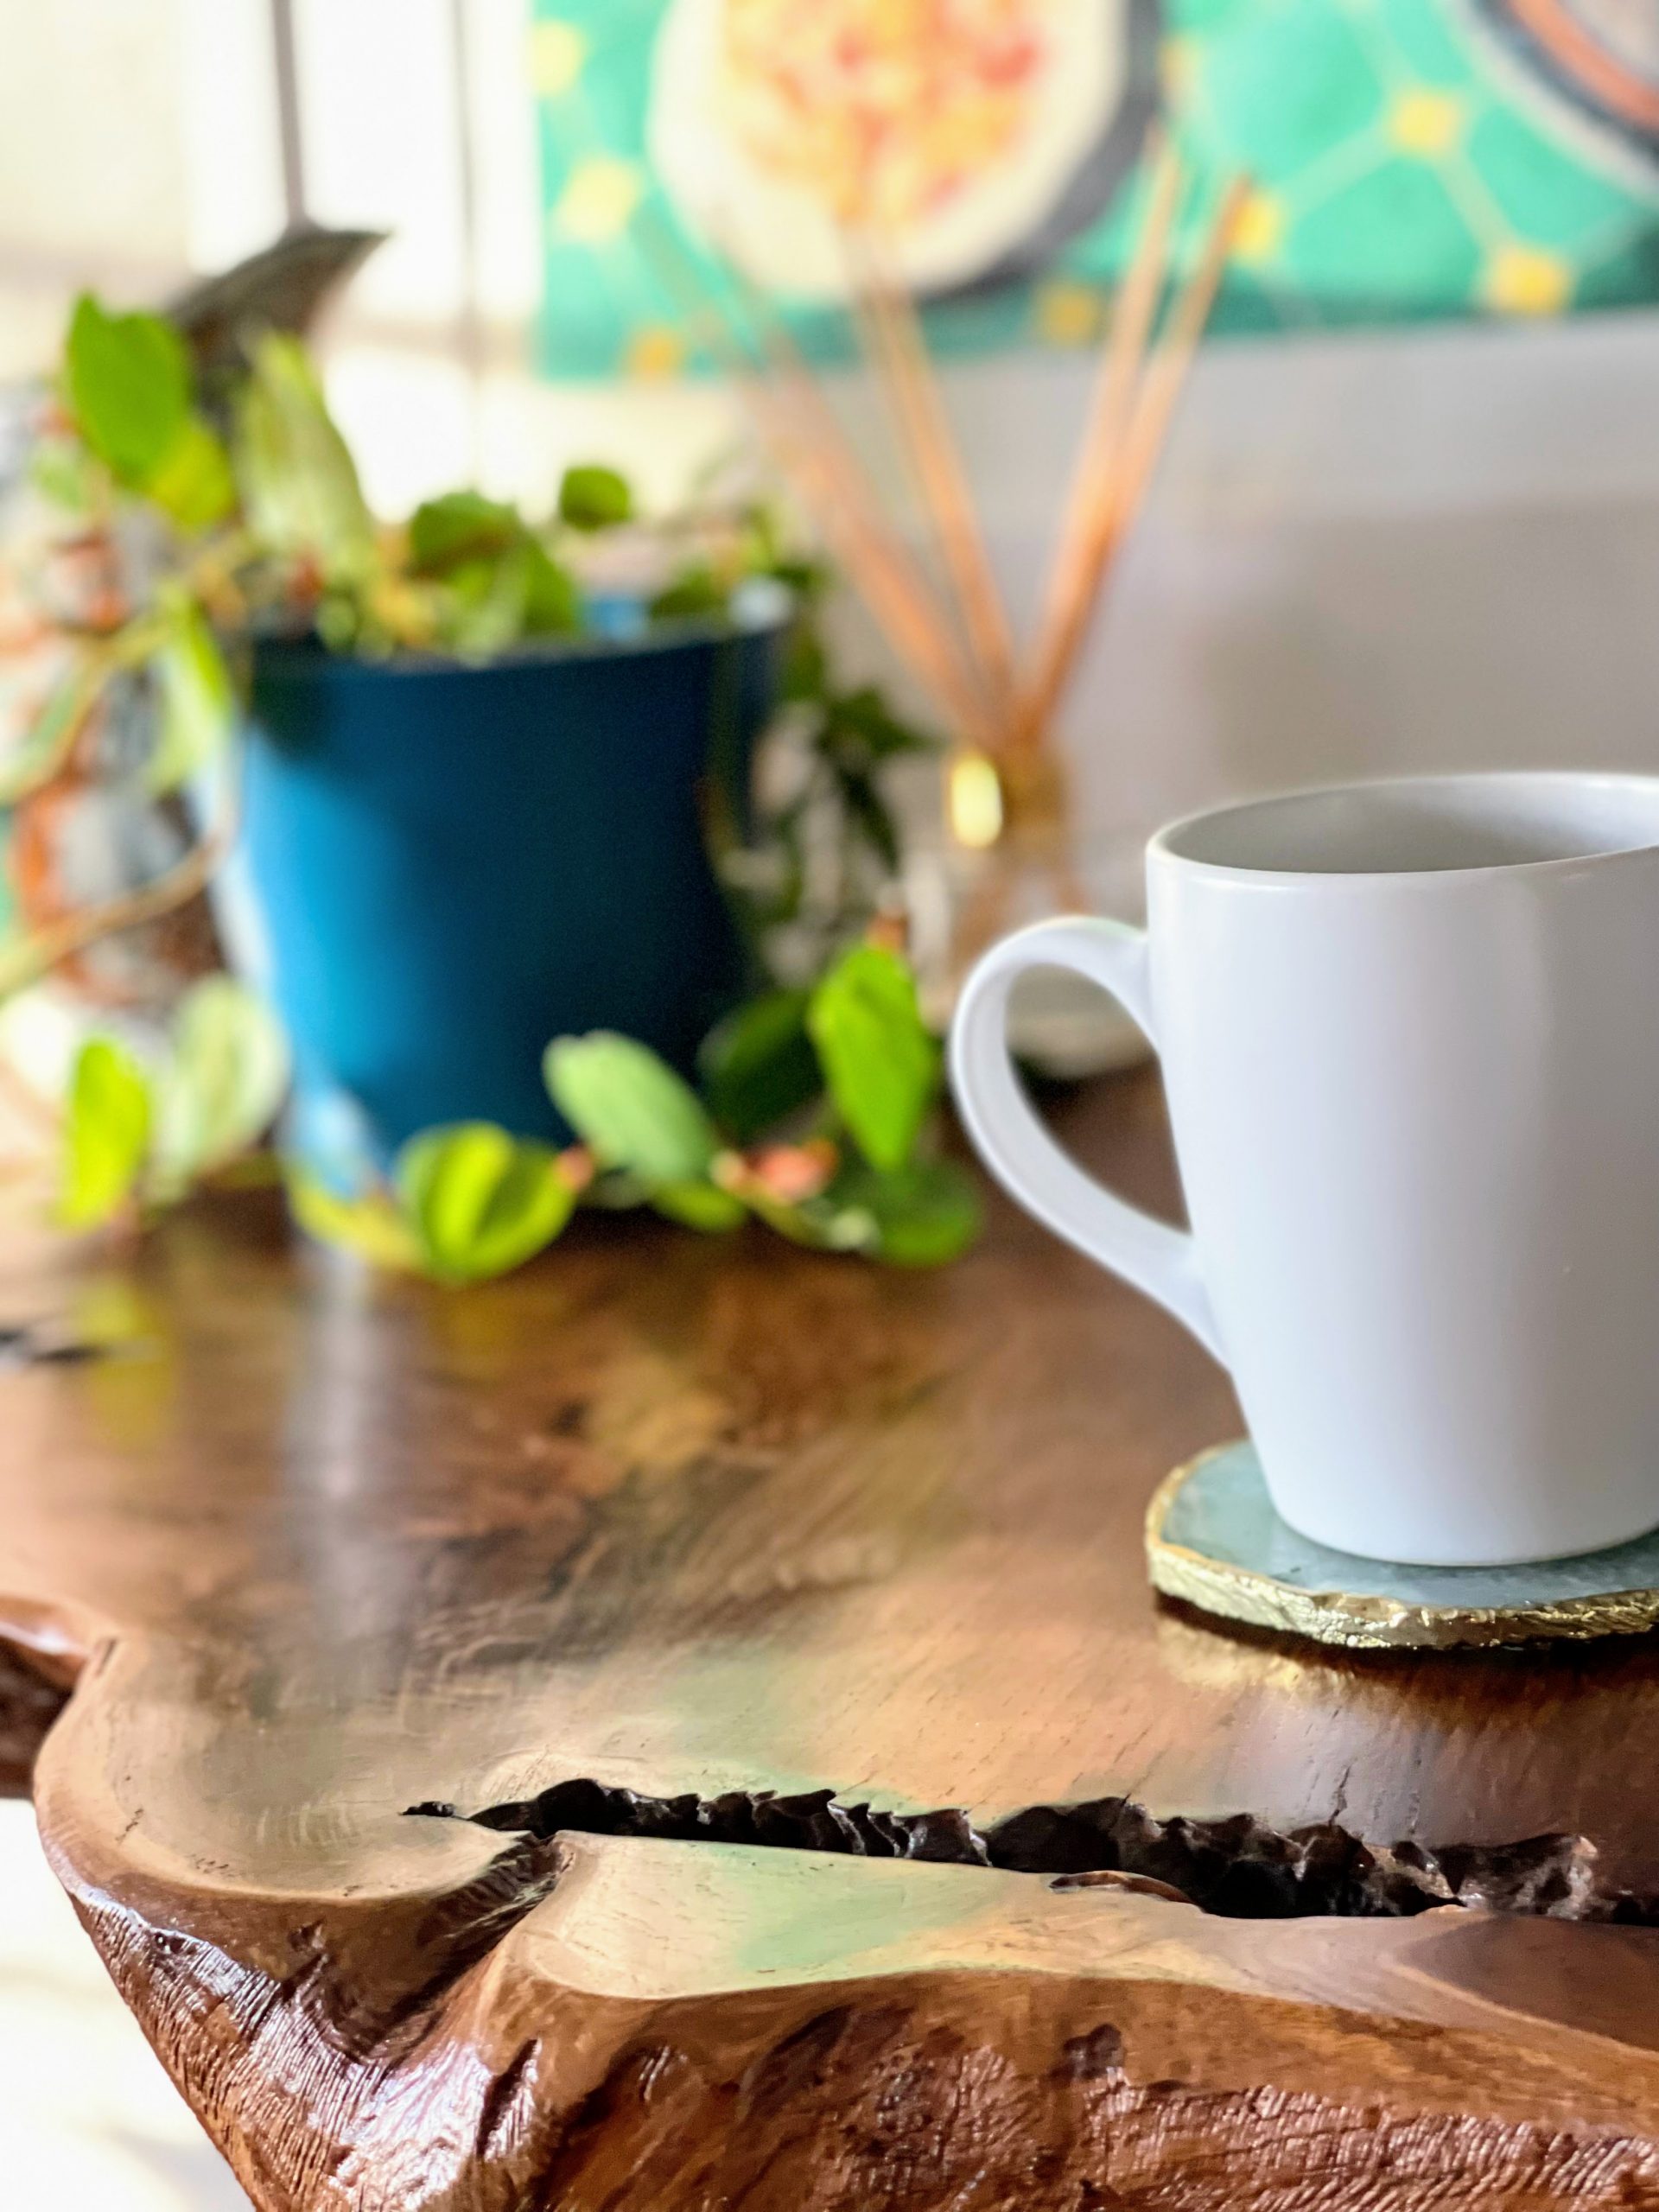
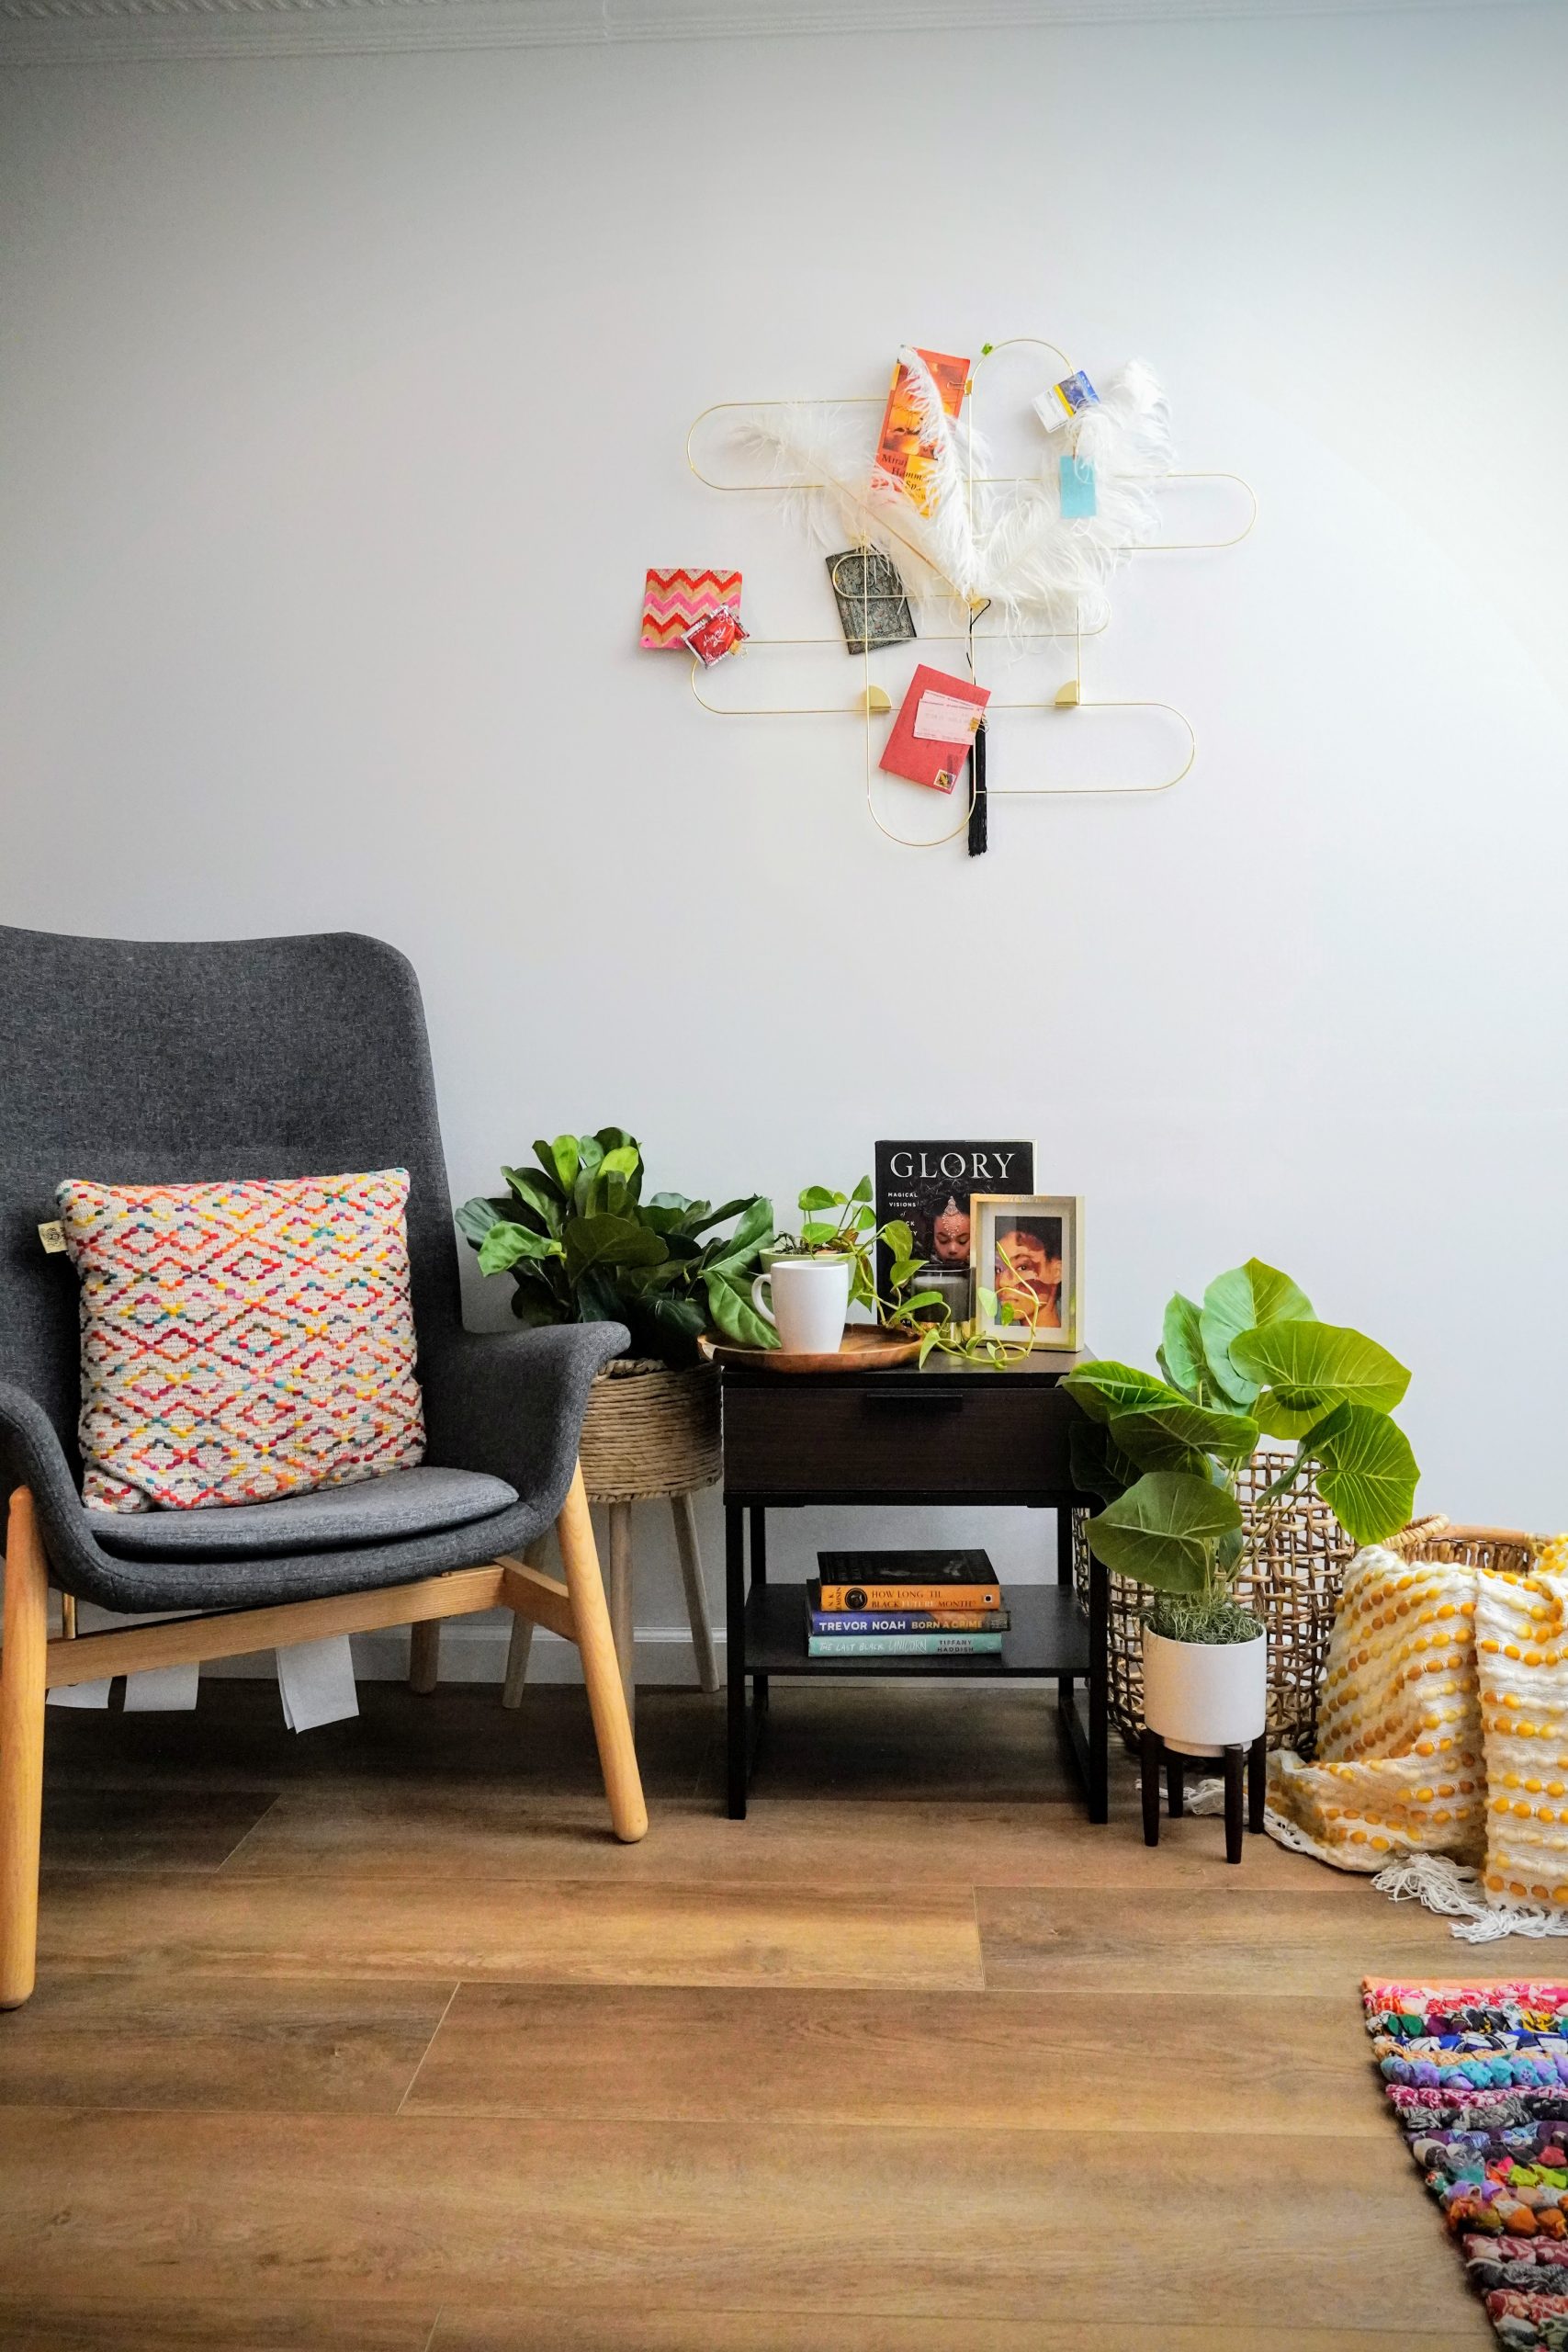
The rest of the art in the room was new from Homegoods. We even found the teak table and chairs set for $500 there! It was a great find since we were looking to purchase a bistro table to function as a standing laptop desk in the room while still serving up coffee shop vibes. I didn’t get the chance to build the live edge shelves for the space yet, so it was also nice to bring in that raw wood element into the room in a different way. I reused a very affordable chindi rug I purchased 4 moves ago, a console table I bought for our last place, and one of Albert’s old Ikea nightstands from his bachelor days. Using furniture we already had freed up some budget for the splurge.
Many of the smaller decorative items were purchased months ago on a trip to Boston, where I picked up frames, candles, and reed diffusers from Primark Home. I was pleasantly surprised at how nice all of their things are for the price. I would say that the value is actually even higher than my other favorite place for home decor, Ikea. One day I may find something worth buying from a high end designer store, but for now I can’t seem to resist the deals I find at Homegoods, Target, Ikea, and Primark. Almost every item you see came from one of those stores.
First-Time Feats I Pulled Off in This Challenge
I don’t think I’ve learned this many skills this quickly since I graduated from MIT. It was honestly exhilarating! Here’s a short list of things I did for the first time:
- Made a mood board
- Remove moulding from walls (it was a lot easier once I got a trim puller)
- Patched damaged walls (with spackle, joint compound, drywall repair kits, and California patches!)
- Added a new electrical switch, GFCI outlet, and light fixture (Actually my husband did this, but I count it as a win for me too since we’re both learning together!)
- Added an ethernet port to a room (also the hubby’s win)
- Used drywall compound to make a faux concrete wall, something I haven’t seen anyone else do!
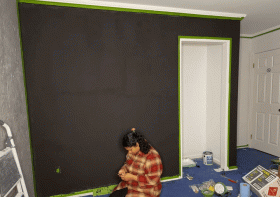
- Made a magnetic chalkboard wall (with magnetic primer and chalkboard paint)
- Painted a mural
- Removed closet doors
- Removed carpet
- Leveled floors (using feather finish!)
- Installed luxury vinyl plank flooring
- Cut and installed baseboards, including coping the edge of inner corners and mitering outer ones!
- Used a compound miter saw, circular saw, jig saw, rip cut jig, random orbital sander, and impact driver.
- Removed popcorn ceiling
- Upgraded a piece of furniture with new knobs and legs
- Styled a room
- Did product photography (for my very first giveaway with Black Acres Roastery!)
- Transformed a room in my own home.
- Made Instagram Reels and Stories
- Wrote blog posts
What’s Next?
One Room Challenge was only the beginning for me! In the coming weeks, I’m still going to be working on this office in my spare time, as well as taking on smaller projects around our new home. There’s some boring must-dos like completing the baseboard installation and touching up paint. However, there are also a few big items that I’m planning on doing. If you’re interested in following along, our to-do list includes
- Adding shelving and drawers to our utility/tech closet
- Building a hidden door to said closet that doubles as a book display
- Installing lighting throughout the room, including a sputnik light
- Building or acquiring a new desk (since we still haven’t found a perfect replacement)
- Building floating honeycomb shelving
- Finishing raw wood to make live edge shelves
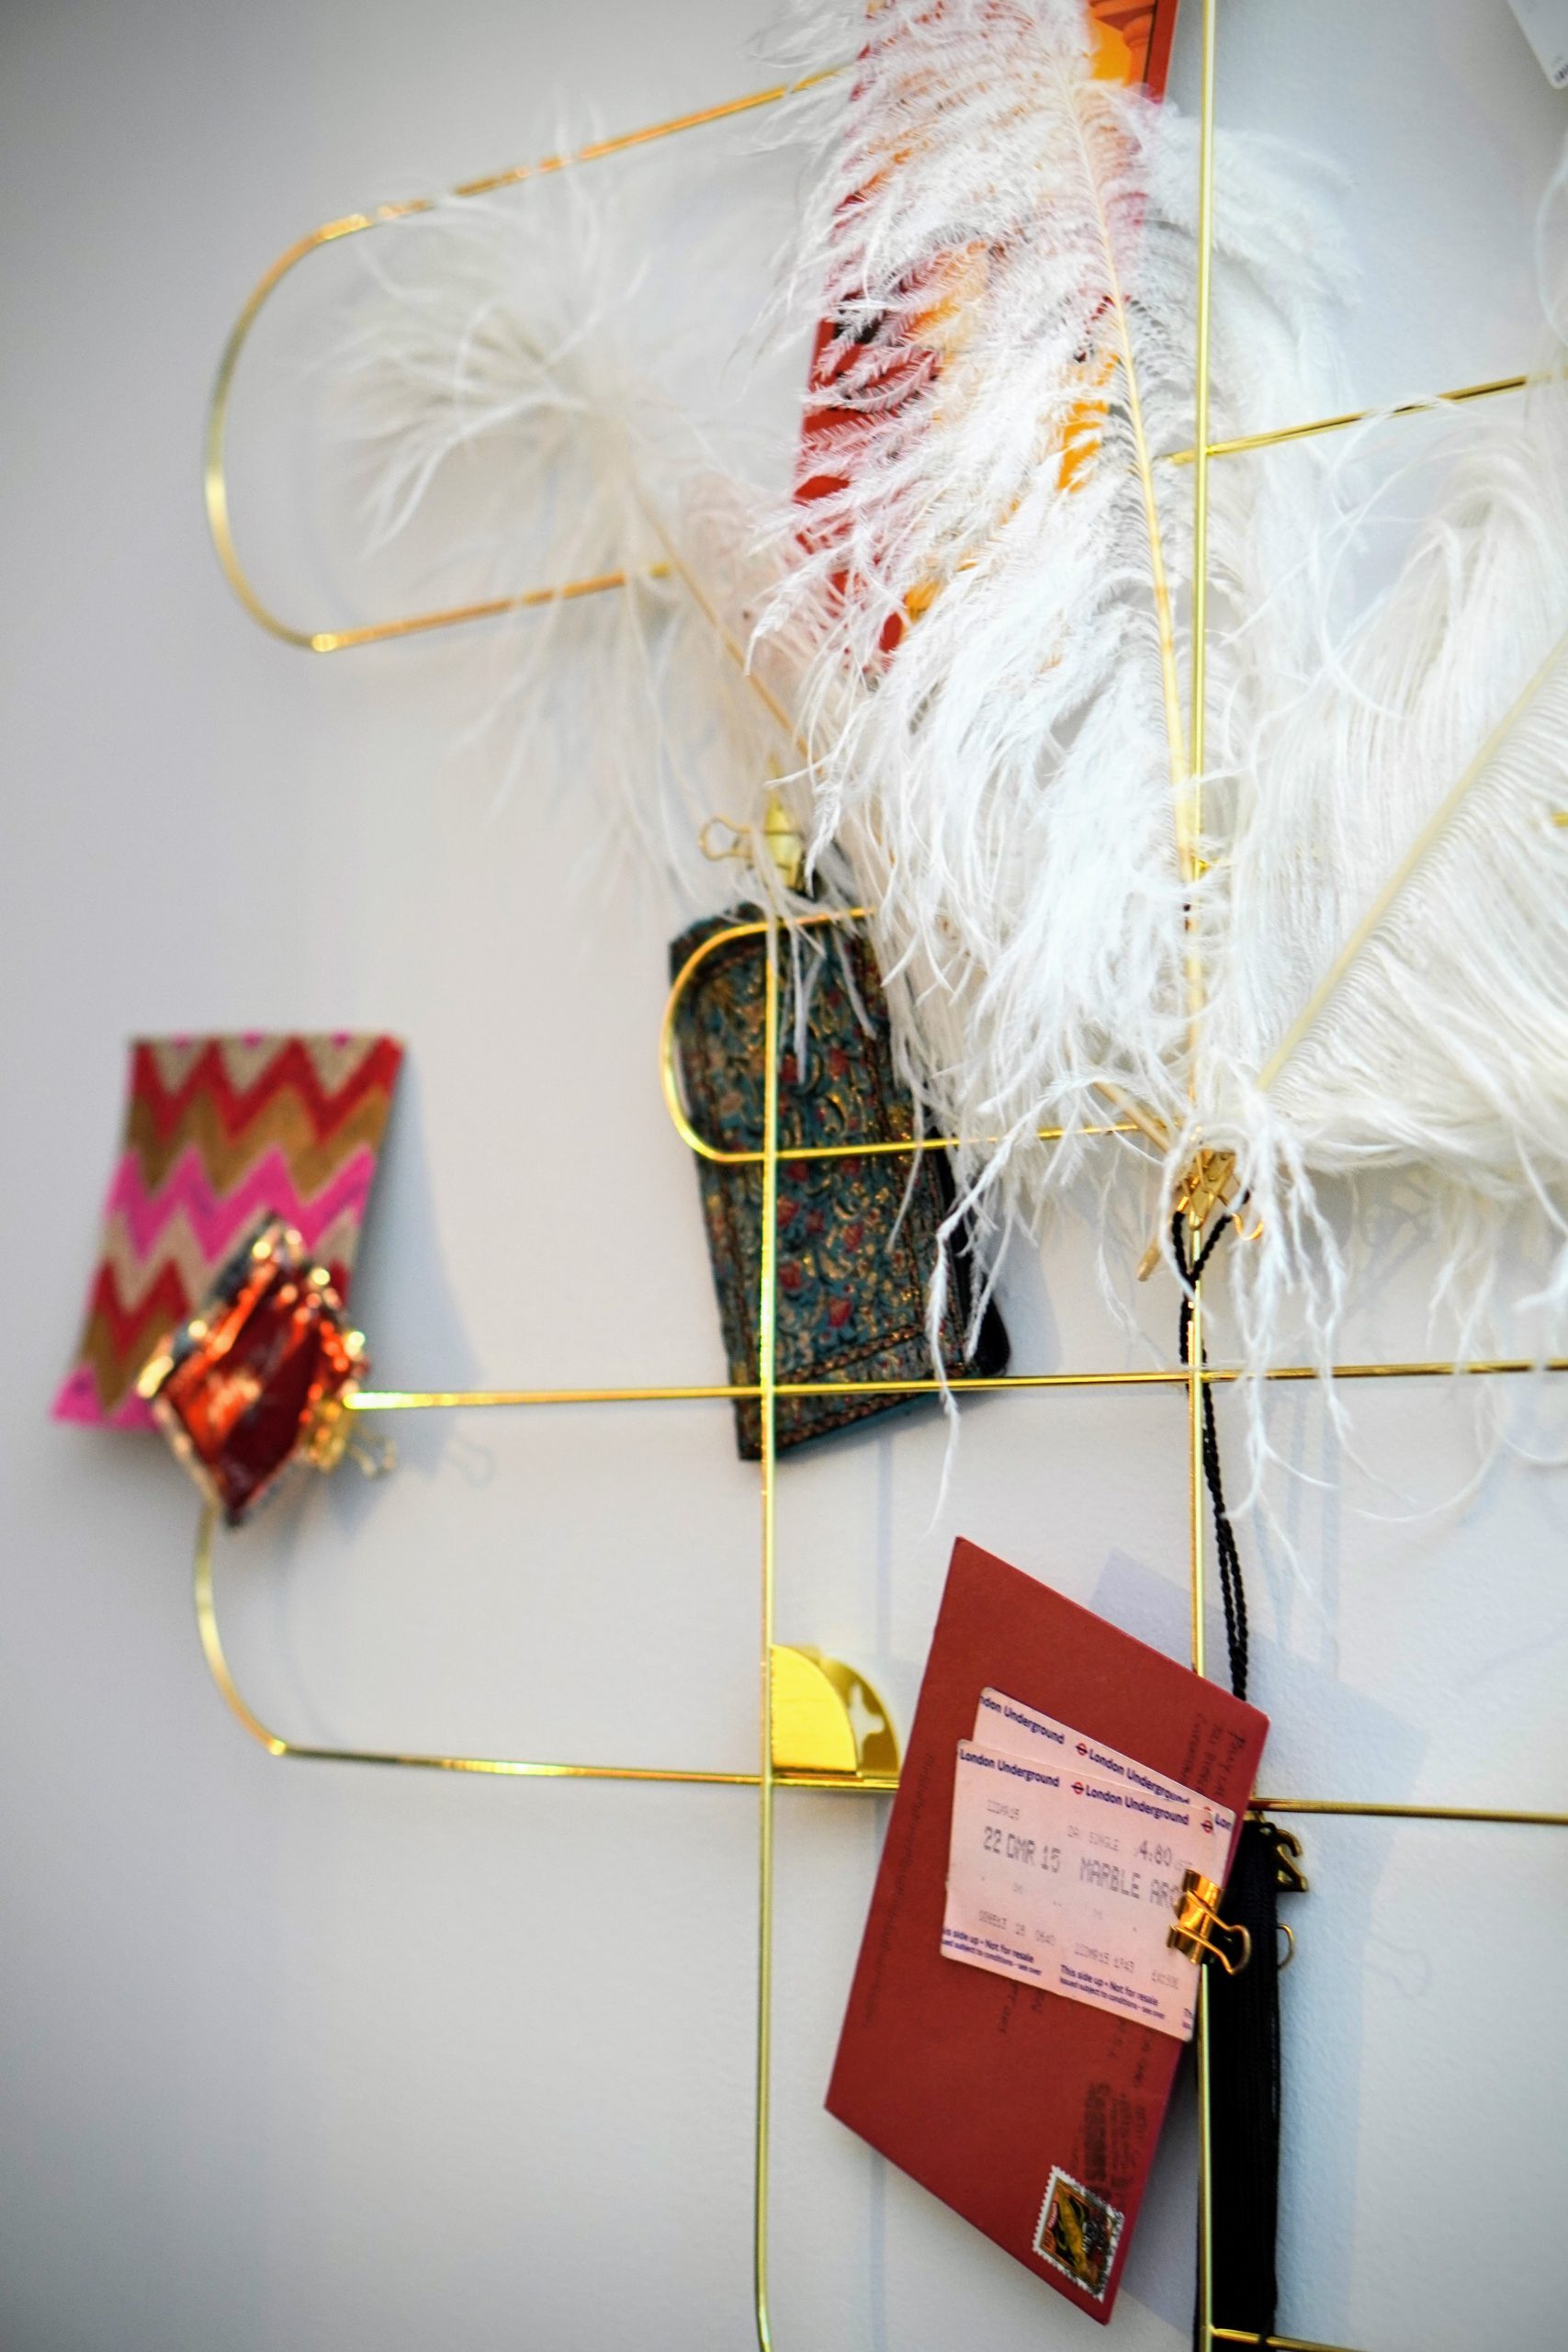
- Adding more art, including patent art and a letterboard
and finally - Giving the new coffee bar closet a makeover!
*record scratch*
I know, I know…. you’re probably thinking that’s a terrible idea. But here’s the thing, I already purchased the tile, wood, and materials to do a built-in cabinet with all sorts of fun things like conference table electrical for the appliances, a DIY cement and epoxy countertop, and a beautiful tile backsplash! But when time got tight, I decided to do a quick and budget-friendly stand-in. I have to admit, the result looks better than I ever thought it could, but I can’t get the original vision out of my mind and the tile is already here along with the grout and thinset! So it’s very likely that we’re going to follow through with that in the nearish future…UNLESS… I use those materials in a kitchen pantry refresh 🙊. Keep up with me on Instagram if you want to see what happens!
Thank you again to everyone who followed along for this challenge.
If you’re curious about other ORC participants, you can find all the guest participants reveals here or check out the tags #oneroomchallenge and #BHGORC. I hope I’ll continue to see you on Instagram, where I’ll be continuing to post content about this office, as well as other DIY, home, and parenting content!


Felicia
Congrats on the new space! I really enjoy the vibrancy! I think the new DIY skills is one of the best things about participating in the ORC. Also, you meet different people who are kind enough to share tips and tricks. PS: I’m even more impressed that you shopped your home for much of the styling. Your decor stash must be epic!
semiglobalcottage
Thank you so much! I had a blast, and I wholeheartedly agree, it was such an amazing challenge and I learned so much, but the community is definitely the best part. I love having so many new people to keep up with and swap tips with. If only I could build a community like this in person 😩
Denise Adele k
IT LOOKS SO GOOD!!!!!!!!! Was excited all weekend leading up to knowing you’d be sharing the deets!