ORC Week 7: Pivot!
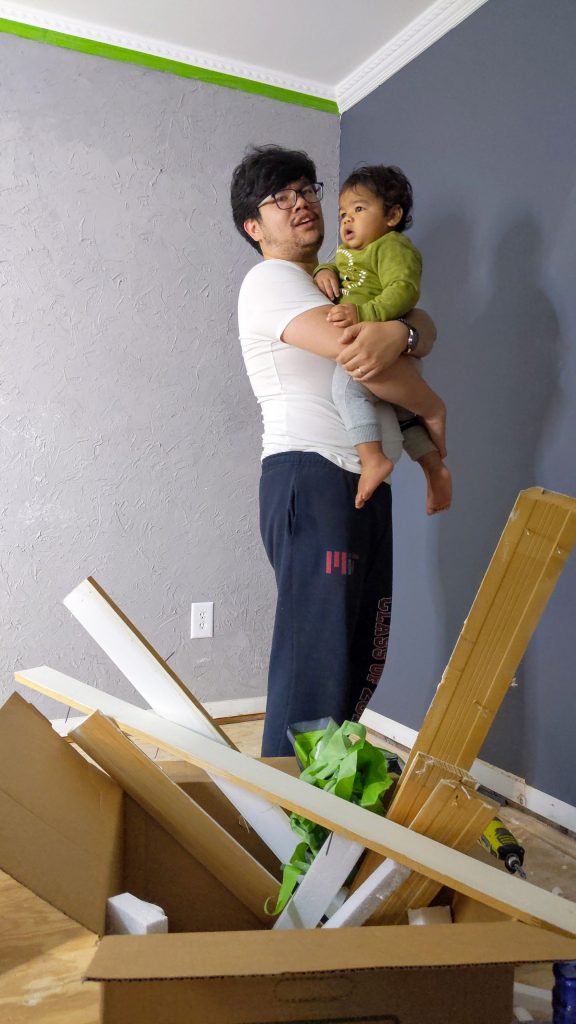
We’re down to the last week of One Room Challenge and I am down to the wire on this room! I’m making a lot of compromises and pivots this week to make sure that I can deliver something great next week. It’s so tempting to feel bad about not completing everything I set out to do, but instead, I’m going to take this opportunity to talk about everything I learned and gained from this challenge!
But first, here’s a quick update on the room. This week I set out to do the tile in the closet, the electrical, the flooring, and the kitchen island. Of that, we assembled the kitchen island.
Once we saw the island in the space, I immediately knew that I wanted to go back and install proper cabinets, probably after ORC was over. But this presented more complexity than I had thought of. For one, unless we installed the countertop to the cabinet first, we wouldn’t be able to install it flush with the tile. And secondly, laminate flooring shouldn’t be installed underneath cabinets, so that put us in a weird position…. do we try to build the cabinets now so we can lay the floor down? Do we ignore the advice? Do we install a piece of plywood for the cabinet to sit on flush with the laminate flooring so we can come back and do it later? To be honest, I’m stuck between those last two options. For now, I’ve decided to hold off on building a cabinet and installing tile, since I’ve never done either, until after ORC, rather than risk it not getting done in time when we already have the island as a temporary solution. Instead of tile, I’ll be painting the coffee bar to bring some interest. I also decided to move ahead with installing the laminate and either build cabinets on top of it later (especially because these won’t be that heavy, and may not even be constructed as traditional cabinets, and may be more of a utility cart so I don’t think the weight will be that impactful.) or put in a plywood base if we feel that will be better.
Moving on to the flooring installation, we spent so much time this week prepping the floors, pulling out the carpet, carpet pad, carpet tack, and SO MANY STAPLES from the floors. This took us several hours, and I regretted not budgeting in the time much earlier. If you are attempting this at home, please know that removing carpet and prepping the subfloor beneath it will take a lot of time and patience, you will probably be better off if you get the proper tools and definitely need knee pads! (Or if you want to be resourceful, you can fold up some carpet pad after you pull it up and tape it around your knees like I did.) After some back and forth we decided to also remove the old, peeling baseboards. But this time, I learned about two approaches that would make it less likely to damage the walls in the process! I tried them both out and I’m pleased to report they both work.
Method 1 is to use this trim puller and a mallet. This made the process SO easy and painless. I was kicking myself because if I had this earlier I could have avoided so much patchwork on the walls when I removed the chair rails. 🥲
Method 2 is to use a prybar with a flooring sample (or a piece of wood, but we happened to have flooring samples from earlier in this process so we put them to use). Placing the flooring piece between the wall and the prybar will allow it to distribute the force more evenly and prevent punching a hole in the wall. This also works with a hammer. More frustration when I found this method. I used it to take the cleats out of the utility closet, but I wished that I’d done this with the cleats on the coffee bar to prevent more unnecessary drywall damage.
C’est la vie. Hopefully someone else can buy the proper tools and spare themselves the frustration I endured.
Unfortunately installing the vinyl led me to realize the subfloors were not actually even enough to support the vinyl flooring, so I’m currently patching and leveling the subfloor so I can get these planks in before the challenge is over! I also realized my miter saw is not actually the right size to cut clean through the planks…. it can cut about halfway and then I have to flip it over, and there’s still a sliver in the middle. *sigh* I should have just bought the fancy saw I had my eye on instead of cheaping out but again, c’est la vie. Please wish me luck as I try to level and patch this floor and fix the big dip I found.
With all that said, I really appreciate all the support in this ORC. I promise I will work my hardest to deliver an office that’s going to wow everyone who has been holding their breath and crossing their fingers for me, even if it takes me another two weeks to get to the finished product. Thanks for joining me on this adventure. Next post will be the reveal, but to end this post I want to share 10 things that this project has already revealed to me.
1. I can patch holes in walls. There’s pretty much no hole I cannot fix with spackle, joint compound, a drywall patch kit, or a Califormia patch.
2. I can avoid making holes in walls. Using a trim puller or a scrap of flooring to distribute the force over a larger area as I pry will keep the walls intact while I remove things nailed into the walls.
3. I can figure things out with samples and experiments. The Faux concrete wall was such an incredible project for me. I saw a vision come to life by testing things on cardboard and scrap drywall. This was the first time I have done a DIY without following a tutorial and the feeling is INCREDIBLE.
4. There are a lot of preparation steps involved with DIY. Making walls smooth is hard work. Making floors smooth and level is hard work. Priming and painting is a long process. Most projects need at least one coat of primer and two coats of paint, so drying takes a long time. Cleaning tools and paintbrushes is also time consuming. Two tools I’m glad I used to make it easier on me and my septic system are a 5-in-1 paint tool (The curved end gets most of the paint out of a roller!) and the paintbrush comb.
5. When I’m freaking out about how to tackle something 10 steps down the road, sometimes the best thing to do is to tackle steps 1-9 first, and think about it later. This was the case with the wall, the coffee bar, and the floor. Even with the design. Things go so much more smoothly once I commit to a plan and work on it until I’m actually stuck. It also reduces the amount of variables I need to consider. If we’ve already tackled steps 1-9, then it’s not worth considering doing them differently in step 10.
6. There’s a whole community of amazing people making awesome things, laughing through their failures, and helping each other grow as makers and as people. Here are a few of them, but I may have to start sharing a few a week going forward because there are just too many to highlight at one time.
7. Everything is figure-outable.
8. It takes less time than you think to gain confidence in DIY.
9. Buy the damn tools.
10. One Room Challenge is a great way to get started with DIY in your home but can be ADDICTING. I’m already looking forward to the Spring ORC and next Fall ORC, and planning small projects in the middle.
See you next week for the reveal!
If you’re curious about other ORC participants, you can find all the guest participants here or check out the tags #oneroomchallenge and #BHGORC. See you on Instagram, and in next week’s post!

Leave a Reply