ORC Week 3: Breaking [a piece of] the 4th Wall
A note on product links: I highly encourage you to shop at your local hardware store as much as possible. It's better for small businesses, for the planet, and often also for your wallet! In this post you will find that I've linked several of the items I'm referencing. It's a convenient way of sharing product recommendations with you, and it's an option for those who may not have access to a good hardware store. As an Amazon Associate I earn from qualifying purchases when you shop with these links.
Check out the other posts in this series!
Week One, Week Two, Week Three, Week Four, Weeks 5 & 6, Week 7, Week 8
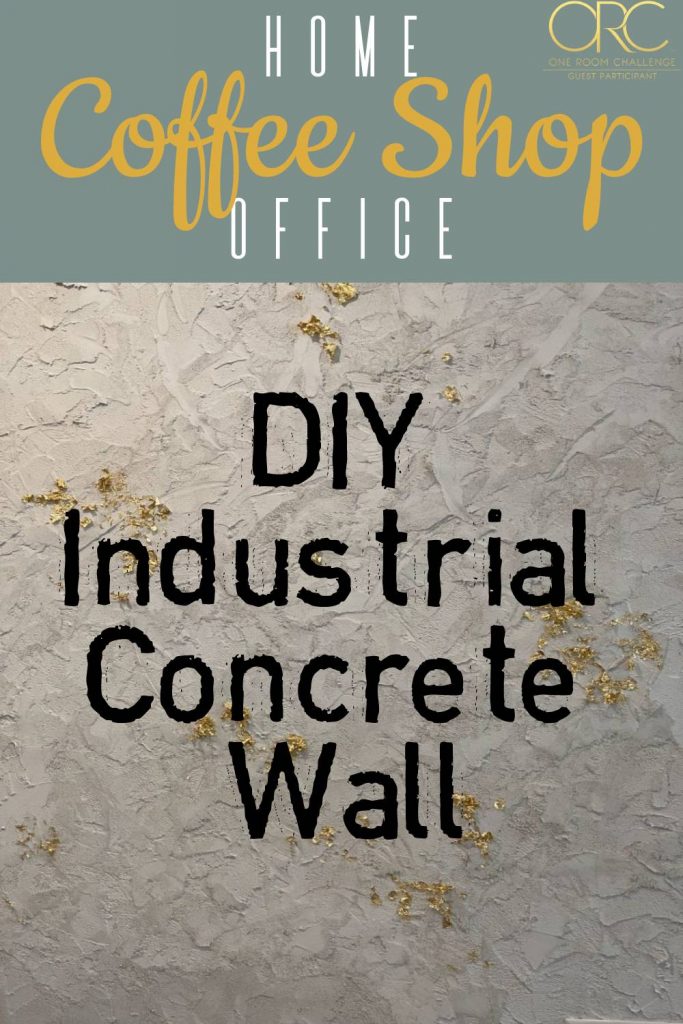
It’s all fun and games until you start tearing stuff off the walls with a crowbar. This week the coffee shop office got its first taste of destruction as the industrial concrete-effect feature wall went from concept to reality, with a TON of help from the staff at my local hardware store! Let’s get into the details.
Thank you kind internet friends,
for tricking me into showing up for myself!
Me, talking to you 🙂
First off, I want to say a big thank you to anyone who’s reading this blog or who’s following along on Instagram. If I hadn’t promised you all a feature wall last week, I don’t think I would have had the grit to push through. It’s one thing to plan an awesome coffee shop office and make inspirational mood boards, but then it comes time to actually rip off the bandaid chair railing. This panicked voice in your mind says, “What on earth are you DOING? You’re not a designer! Who says we can trust this mood board?🤨” Then there are mishaps with crowbars and you’re up at 3AM trying to figure out how to fix a huge gaping hole in the wall… You wonder if you’ve made a terrible mistake. But, if you have a kind group of internet friends who you promised a wall — well, then you’re too invested to quit. So thank you, kind internet friends, for tricking me into showing up for myself by showing up for you!
I understood the assignment (once someone explained it)
I completely underestimated how much effort would go into prepping the main wall before I could start with my experimental concrete-effect ode to Agape. For anyone else who’s a complete newcomer to DIY or who has never tackled a big wall transformation before, I have some content headed your way this to make it easier, so check back next week for my obsessively-detailed-guide on prepping a wall. I can’t say enough good things about my local hardware store, Ring’s End. (If you’re reading this, Bryann, Leslie, Jim, and Larry, thanks for all the help on this wall!)

Here’s a small subset of the questions I asked this week (answers in the aforementioned post!):
- What type of brush should I use for edging?
- How do I clean this brush?
- Which nap of roller is the right one for this primer? (spoiler: this is different for certain primers! I wound up getting a microfiber one for the chalkboard wall next week since it needs to be really smooth!)
- Will this crowbar work on trim as well as wooden wall cleats for a shelf I’m removing?
- How do I clean the roller?
- What’s the right amount of paint to use on the roller/brush?
- Is this primer good for paint as well as for drywall?
- What’s the difference between these roller handles?
- Can I use this putty knife to remove popcorn ceiling?
- Should I use tack cloth on the wall before painting?
- Which of these paint trays should I use?
- Do I really need to stir the paint/primer? (another spoiler: it depends!)
- How long do I have to stir this paint/primer?
- What grades of sandpaper should I use for sanding down the wall after patching?
- Should I use a hand sander or a rotary one for sanding the wall down?
- Can I just use joint compound on a hole this big?
Unscientific Methods
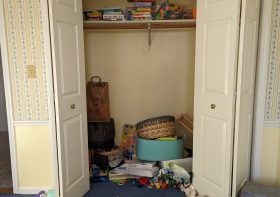
So many questions come up in the middle of a project that never occur to you in the planning phase. Anyway, with a trip to the hardware store (or 5 trips…. I’ve been there a lot this week) I came home with the right stuff to accomplish my task. It took 2 nights for me to prep the wall. On the first night I pried off the chair rail and patched the holes. The next day, I sanded everything down and cleaned the wall with soapy water and a sponge before priming it. Then we got to the part where I was really in the deep end… because the next steps were based on a series of very unofficial experiments.
I couldn’t find any sort of tutorial of someone making an industrial, rough concrete effect wall like the one I was looking to make. There’s plenty of methods for making a wall look like smooth concrete — Using different colors of chalk paint and color washing seems to be an excellent choice. But I was looking for an unfinished, rough looking concrete wall like the one at Agape. And there wasn’t a good resource for that. So I got some materials and started testing out solutions.
Texture Snob
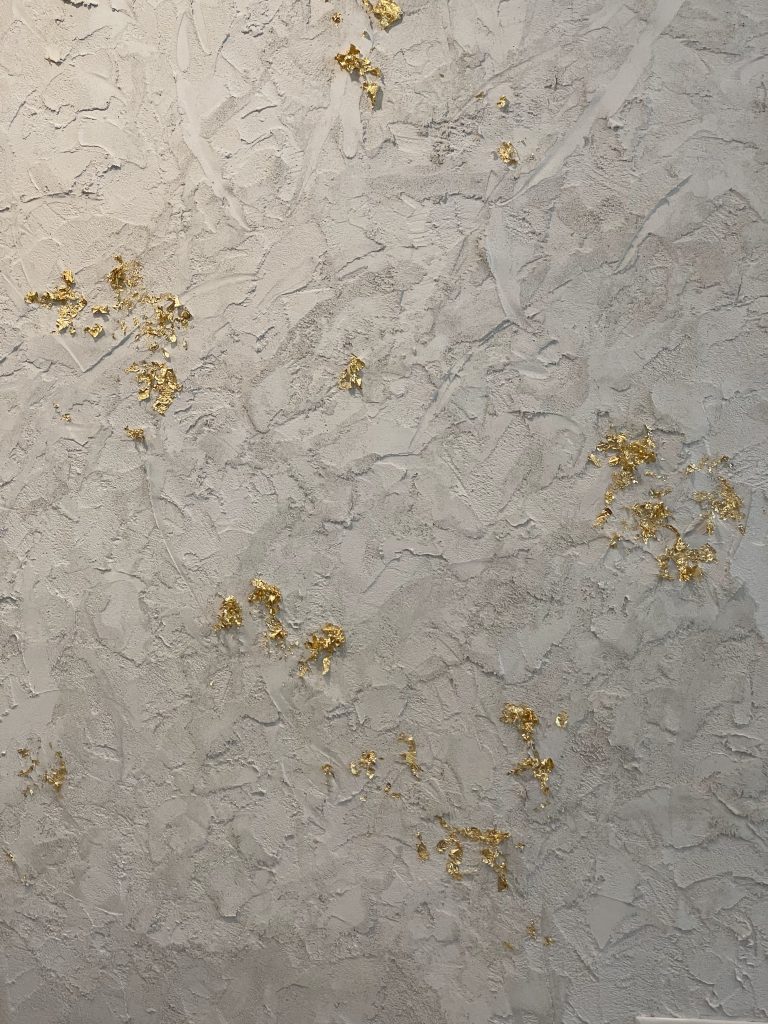
It occurred to me that the texture I wanted might be in reach using joint compound, which is an inexpensive product everyone should have on hand to patch small drywall holes. I actually found some in the garage left by the previous owner, so I decided to try this idea out. Using a putty knife, I tried different application methods on a scrap of cardboard. There are plenty of fun-looking brushes and sponges in the hardware store aisles to help achieve a uniform texture on a wall, but since I was looking for something decidedly irregular, I stuck to the putty knife as my only tool. I looked up different wall texture techniques and played around to see what worked for me. I also experimented with inexpensive artificial gold foil versus real gold foil.

One Non-Specific Shade of Grey
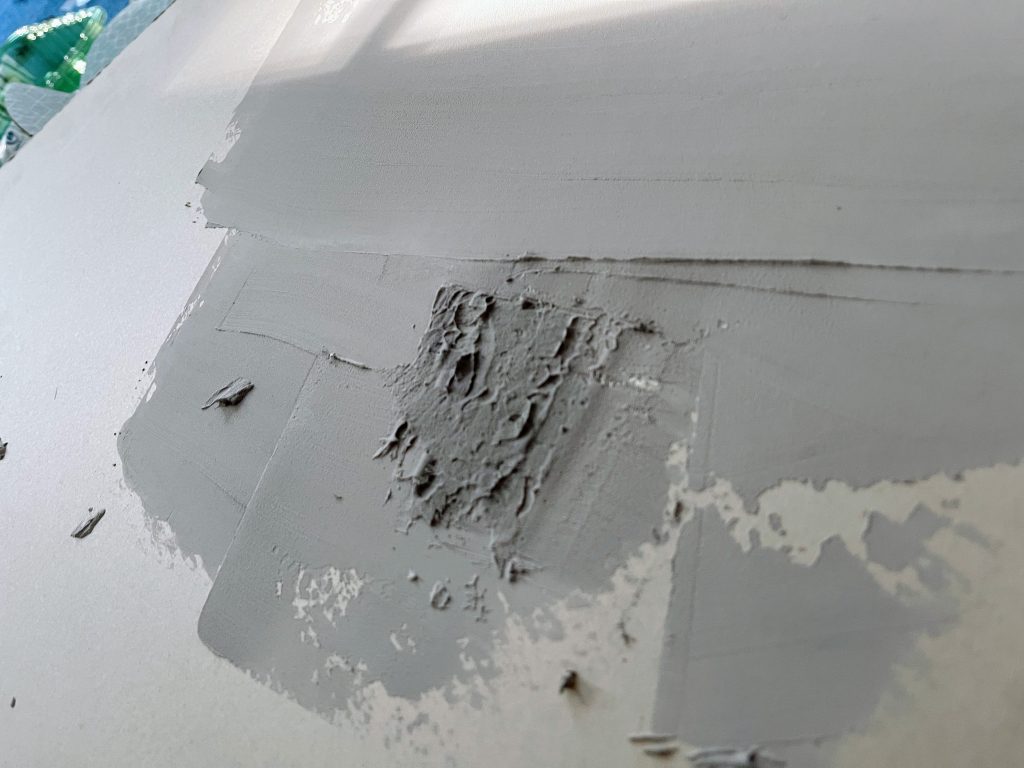
I was happy with the texture, but the color of the drywall could use some work. I wanted a light grey instead of the warm cream color. My first thought was to use titanium oxide powders. These pigments are used for acryllic paints and for coloring actual concrete. However, the powder isn’t readily available at most stores, and I had no idea if it would work. Luckily, I found a better solution while reading about Venetian plaster techniques on BobVila. Venetian plaster is another application of joint compound to a wall, so I figured I could use the same coloring technique for this application. I asked my friends at the hardware store to help me purchase just the colorant for a gallon of paint in a light grey color from Benjamin Moore. They were kind enough to give me two samples at no charge!
I picked up a mixing attachment for my drill, added in some of the colorant, and mixed up the joint compound. It was still pretty dark while wet, but a thin test patch showed that it dried a lot lighter! Also, did you know you can just buy a chunk of sheetrock for $5? I highly recommend getting one if you’re a nervous DIY-er like me. It’s so great being able to test things out on a “wall” without all the drama. I can just sand the joint compound off this sample and keep using it for future experiments.
Throwing Spaghetti Spackle At the Walls*
* A minor tangent: Is this a term in your industry? In software engineering, we often use the term “throwing spaghetti at the walls” to describe trying different approaches to see what sticks, knowing that most of the approaches won’t work. Also I feel compelled to acknowledge that there is actually a difference between spackle and joint compound. Spackle dries faster and is used exclusively for patching.
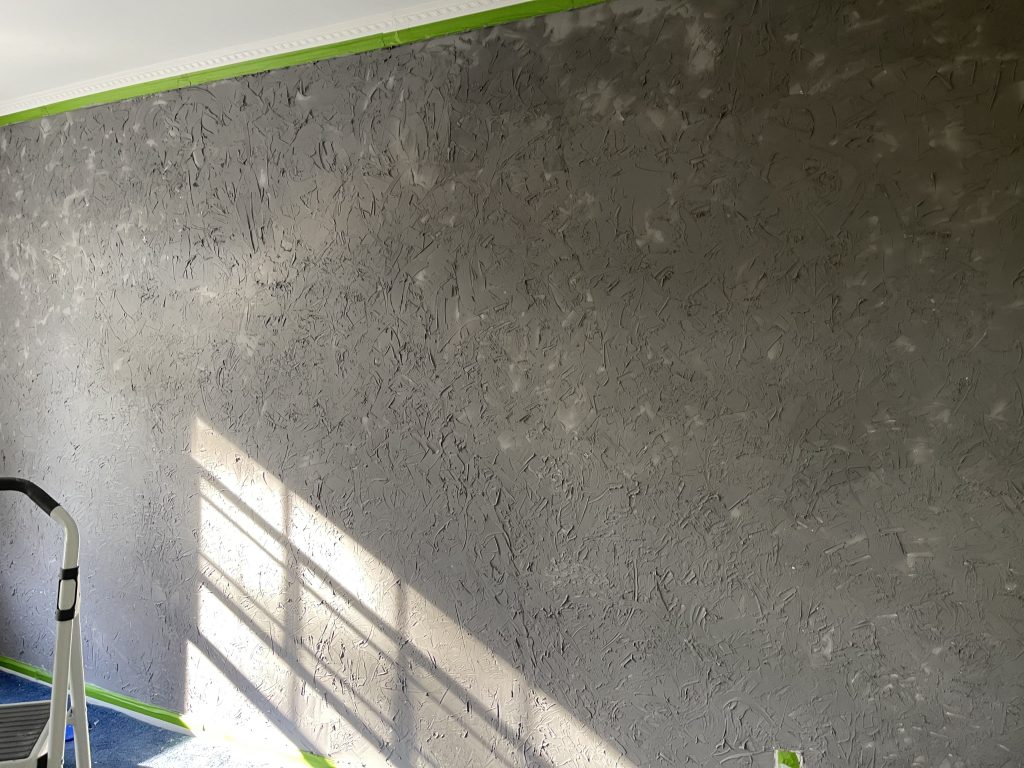
With the joint compound ready, it was finally time to start making this feature wall. I ran into several hiccups with the application, which you can learn more about in my IG highlights. First, I grossly underestimated how much drywall I would need and had to get more, twice. Then, when I had covered half of the wall, I got scared that the mixture would be too dark and scraped off 2/3 of what I had done. (On the plus side, this is a very forgiving DIY. I mixed in more joint compound to lighten it up and tried again!)
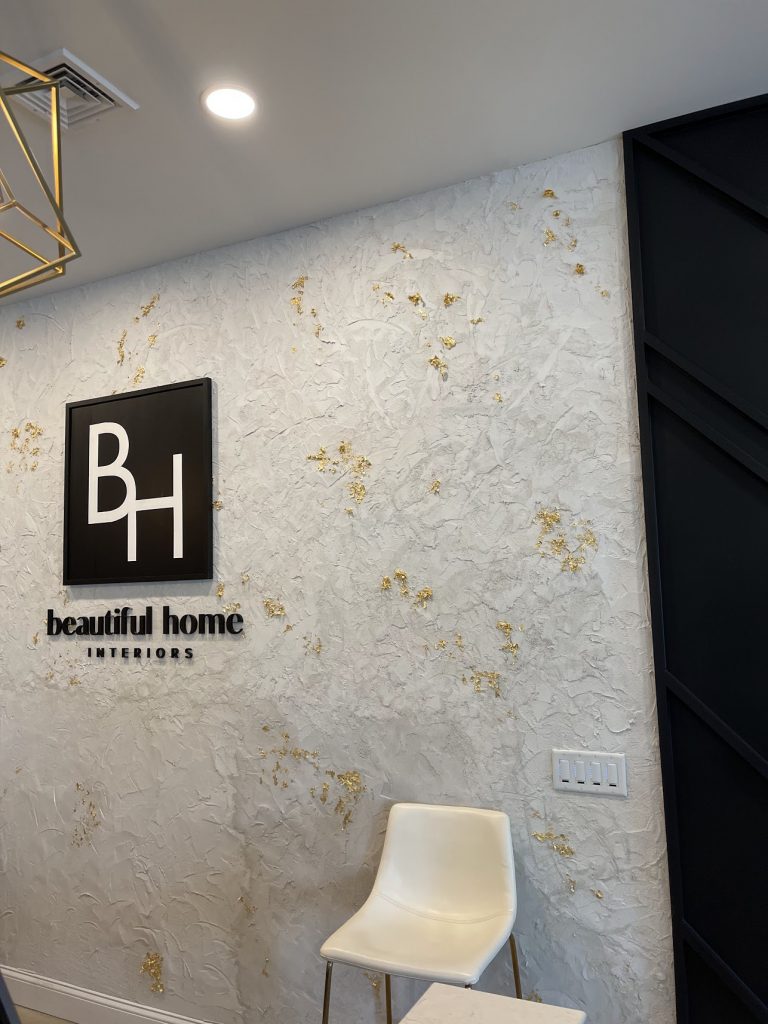
I had to scrape every last drop, but ~3 gallons of joint compound later, the wall is finally covered! It will take at least 24 hours to dry completely, then I’ll seal it and apply the gold leaf with a spray adhesive. You’ll have to follow me on Instagram to see the finished product, unless you’re willing to wait until next week’s post. 😇
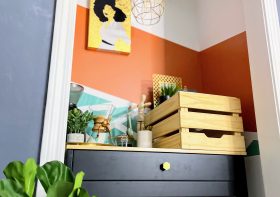
In My Feelings
I’ll go into more detail about the application of the compound to the wall in a dedicated post this week once the wall is complete. For now, it feels SO GOOD to have the first signs of the space I imagined in this room! The rough concrete wall looks incredible and I am SO proud of myself for pushing through so much apprehension, for experimenting and revising, and for seeking help when needed.
At first, I was so worried I was ruining the house. (That’s right, not just the room, the whole house. Why be rational when you can catastrophize?) Trim is generally thought of as a value-add in homes, so removing it felt “wrong.” I had to remind myself: This is our house, and its value is determined by our family. I was on the fence about removing it for a long time, but I was able to make a clear decision when I asked myself, “If it weren’t here already, would you install it?”
Holy Foreshadowing Batman!
Now that I’ve started with the wall makeovers, I have to keep going! I added a blackboard wall to the design last week, so look forward to seeing that in next week’s post! I will also include some progress on the desk and cabinets and an update on the lighting solutions for the space. This is all very new to me, so please feel free to share any tips you have in the comments! Also, be sure to follow me on Instagram so you can help me decide on the fixtures I haven’t ordered yet. 😅 Thanks again for sticking with me for another week of this coffee shop office renovation! Your encouraging comments are making this challenge so much more fun for me, even when the anxiety hits hard. See you next week with an update!
If you’re curious about other ORC participants, you can find all the guest participants here or check out the tags #oneroomchallenge and #BHGORC. See you on Instagram, and in next week’s post!


Leave a Reply